Getting a toy display approved at Costco is not like any other category. The sales cycle is compressed into a few holiday months, the product range goes from 0.1-pound action figures to 15-pound board games, and the display has to survive ISTA 3E transit testing while protecting everything from plush toys to heavy game boxes. Before you commit to a design, you also need to work within the standard Costco pallet display requirements. Here are the 10 things that matter most, ranked from the ones that cost the most if you get them wrong.
1. The Holiday Season Is Everything
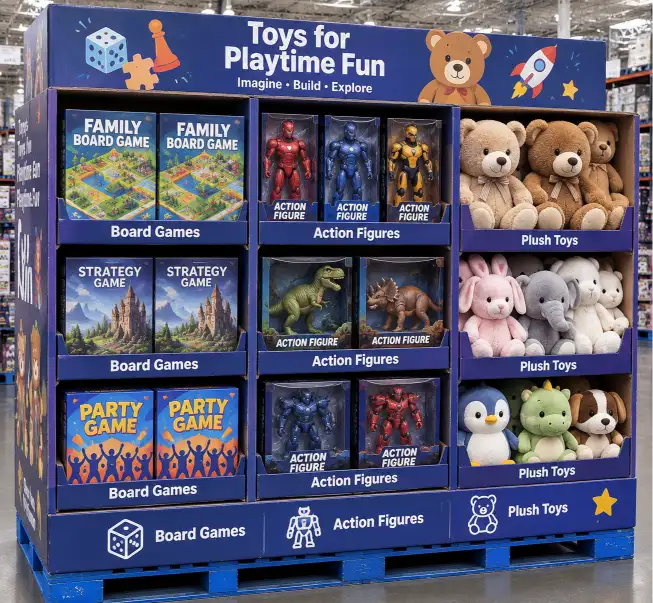
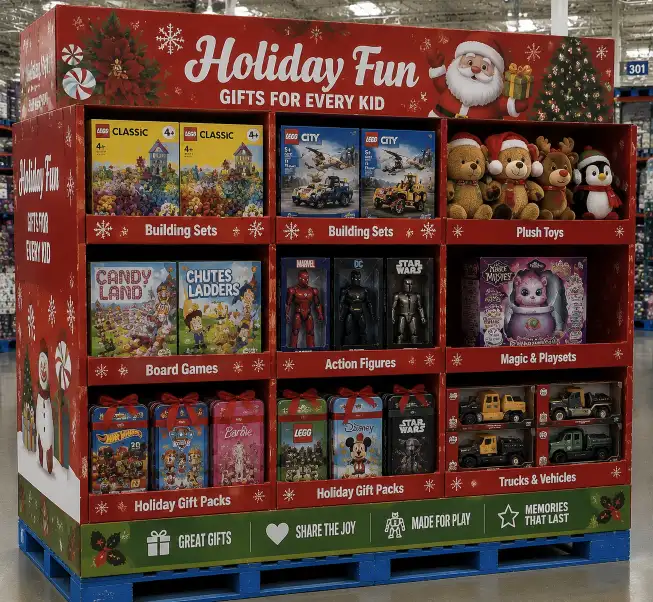
The holiday season (October to December) accounts for 60 to 70 percent of annual toy sales at Costco. That is not a statistic you can ignore — it is the entire business case for your display. Production must be complete by August for October in-store placement. Miss that deadline and you lose the whole season. Start the design process in March or April. For more on the full timeline, see the Costco display approval process.
2. Weight Separation Is Non-Negotiable
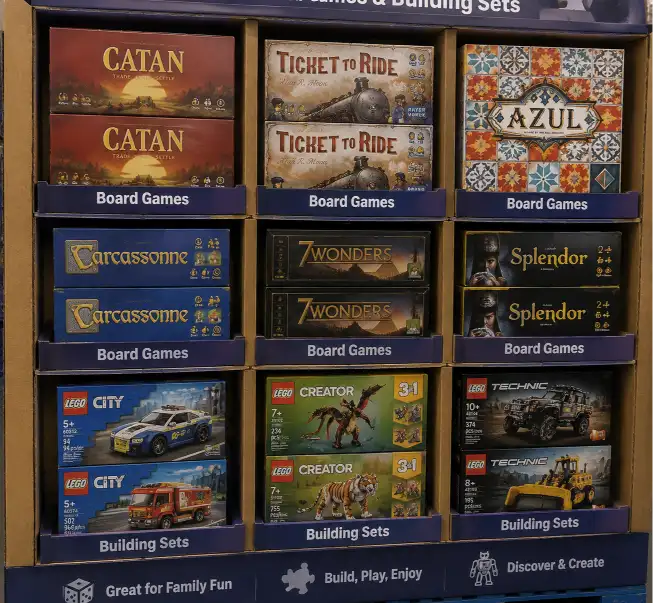
Board games, building sets, and toy tool sets weigh 5 to 15 pounds each. Plush toys and action figures weigh almost nothing. If you put a heavy board game above a plush toy, the weight will compress the soft product and ruin the display. Sort every product by weight before you design a single tray. Heavy on the bottom, light on top. Period.
3. One Compartment per SKU
Every toy box, game set, and plush pack needs its own individual compartment. This is the same rule that applies to tools in our Costco tool displays guide — open trays and row dividers let products shift during transit. The compartment depth should be at least 50 percent of the product height.
4. Adjustable Compartments Save Your Sanity
Toy box sizes vary wildly — a board game is flat and wide, an action figure box is tall and narrow, a plush toy bag is irregular. Use adjustable cross-lock dividers that can be reconfigured for different box sizes. For mixed-SKU displays, modular tray inserts that can be rearranged are the smart choice. A rigid, one-size design will not fit your range.
5. Material Grade by Product Weight
| Product Type | Material Grade | Max Layers |
|---|---|---|
| Board games, building sets | C flute single-wall, 29 ECT | 2–3 |
| Action figures, craft kits | B flute single-wall, 26 ECT | 3–4 |
| Plush toys, lightweight | B flute single-wall | 4–5 |
Lightweight toys do not need heavy board. Over-specifying material adds cost with no benefit; under-specifying leads to collapse. The material selection principles are the same as those in our display materials guide.
6. Design for the Display Half-Empty
Shoppers pick the most popular items first. That means your display will not sell down evenly — it will be unbalanced within days. Design so that partial depletion does not cause instability. Use tiered trays where the front row can be emptied without affecting the back row. Test the display at 50 percent depletion to make sure it stays stable and looks good. This is a step many brands skip, and it shows.
7. Peg Hooks Work for Small Toys Only
Small toys like action figures, card games, and craft kits work well on peg hooks integrated into the display. Use a side panel or header card with peg hooks for hanging items. Hook spacing should be 4 inches center to center for standard blister packs. But never hang heavy board games on peg hooks. The hook rules are detailed in our peg display guide.
8. Litho-Laminated Printing Wins the Aisle
Toys are purchased on visual appeal. Children are drawn to bright colors and fun characters; parents are drawn to quality. Litho-laminated printing provides the photo-realistic quality needed to showcase product images, character art, and lifestyle scenes. For licensed toy brands, spot UV coating on character images adds pop. For educational toys, clean graphics with clear age labels work best.
9. ISTA 3E Testing Will Catch Your Mistakes
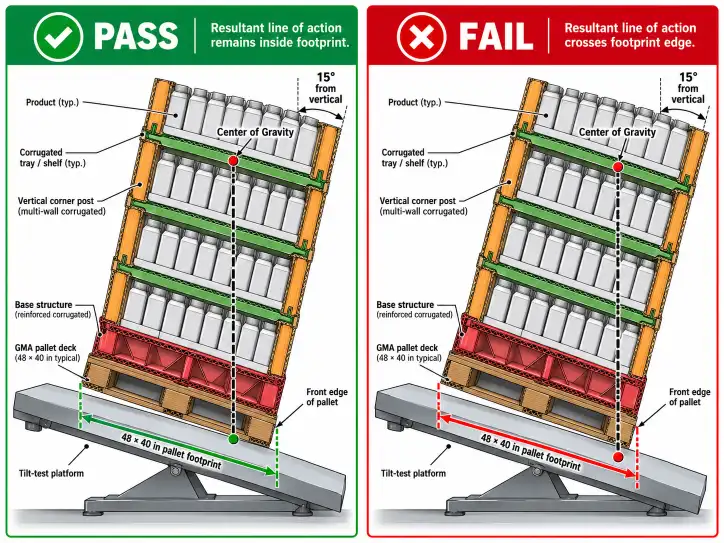
The most common toy display failures are box shifting from mixed-size compartments, tray collapse from heavy board games, and product damage from shallow compartments. Compression testing is especially important for displays with heavy items on the bottom layer. Test with actual products, not empty boxes. The testing requirements are covered in our Costco bulk display testing guide.
10. Plan Around Factory Capacity
The typical lead time for a Costco toy display is 8 to 12 weeks. For holiday programs, production must be complete by August. For year-round programs, avoid the holiday production crunch (July to September) when factories are at capacity. If you are competing for production slots during that window, you will pay more and wait longer. Start early.
FAQ
How do I separate heavy and light toys?
Board games and building sets go on the bottom with reinforced trays. Plush toys and action figures go on upper layers. Never put heavy items above soft products.
What compartment design works for mixed toy box sizes?
Use adjustable cross-lock dividers that can be reconfigured. The compartment depth should be at least 50 percent of the product height.
When should I start production for holiday toy displays?
Production must be complete by August for October in-store placement. Start design in March or April. The holiday season accounts for 60 to 70 percent of annual sales.
How do peg hooks work for small toys?
Small toys work well on peg hooks with 4-inch spacing. Use side panels or header cards. Limit peg hooks to lightweight items only.
What printing method is best for toy displays?
Litho-laminated printing provides the quality needed for character art and lifestyle scenes. For licensed brands, use spot UV coating for added pop.
Conclusion
The toy category rewards brands that plan early and engineer carefully. Get the weight separation right, give every product its own compartment, and protect the soft items. Do that, and the holiday season takes care of the rest. For more information on toy safety standards, refer to the Toy Association and ASTM F963 toy safety specifications.