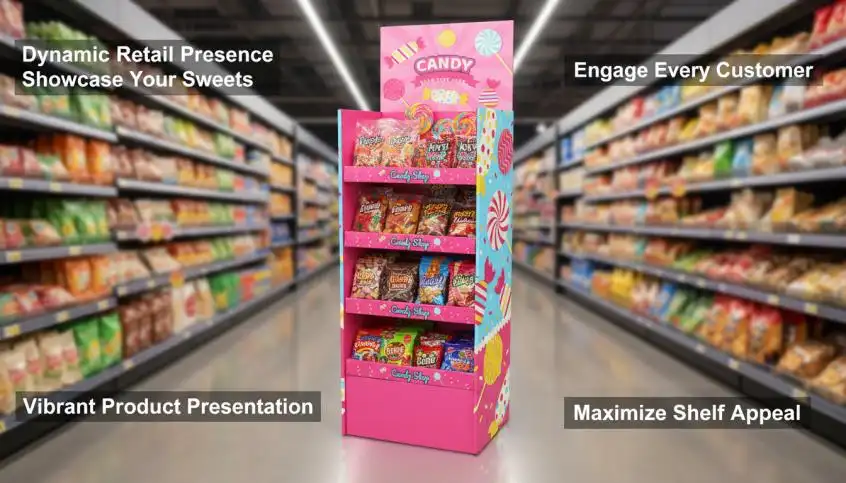
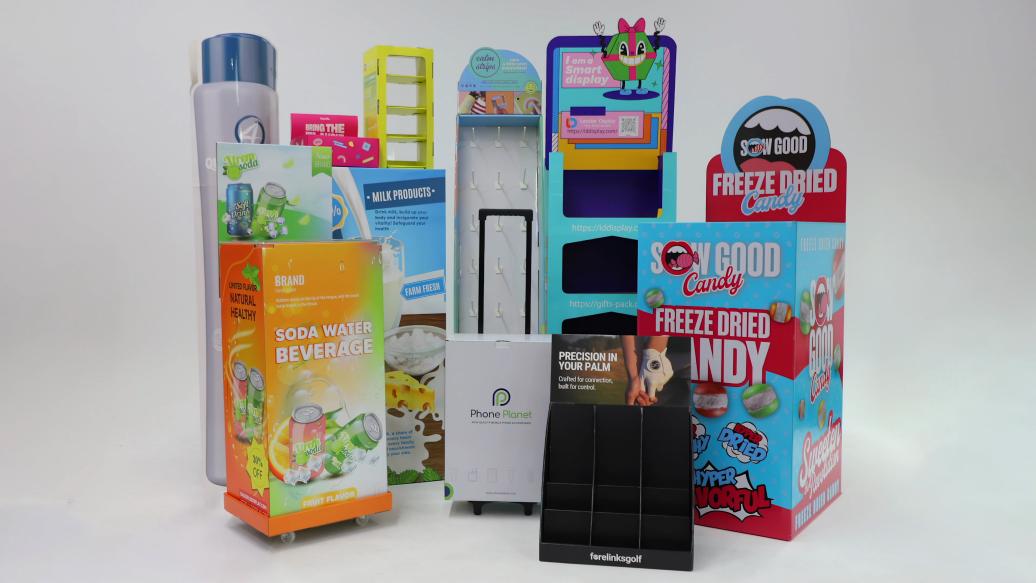
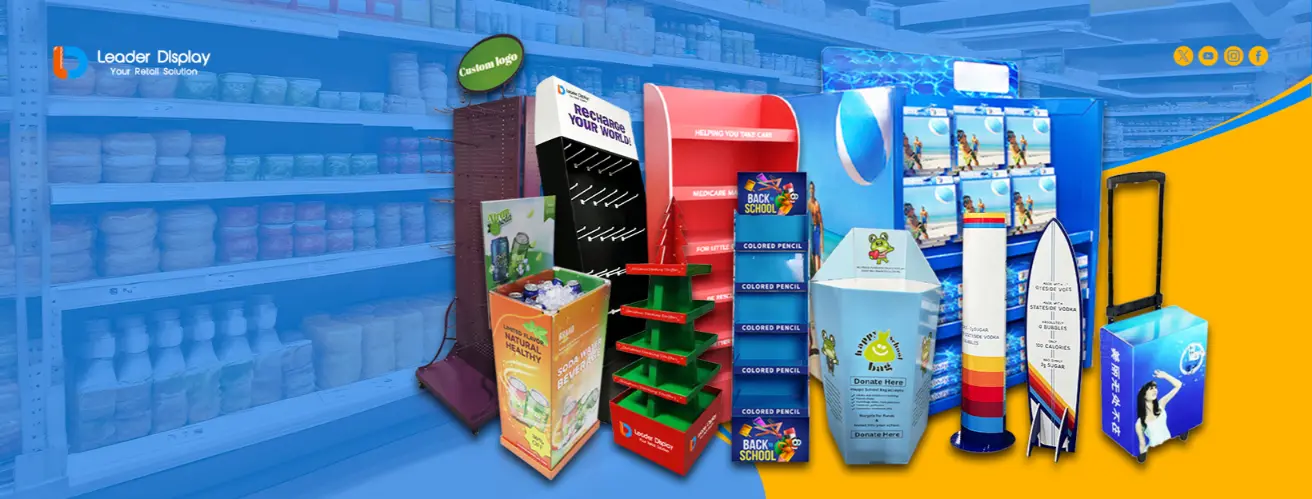
Struggling to create a floor display that grabs attention and holds up? A failed display can hurt sales and your brand. Here’s my complete guide to getting it right.
A successful corrugated floor display needs a careful plan for its goals, design, materials, and printing. You must balance how it looks with its strength, how easy it is to assemble, and your budget to make a display that works in a store.
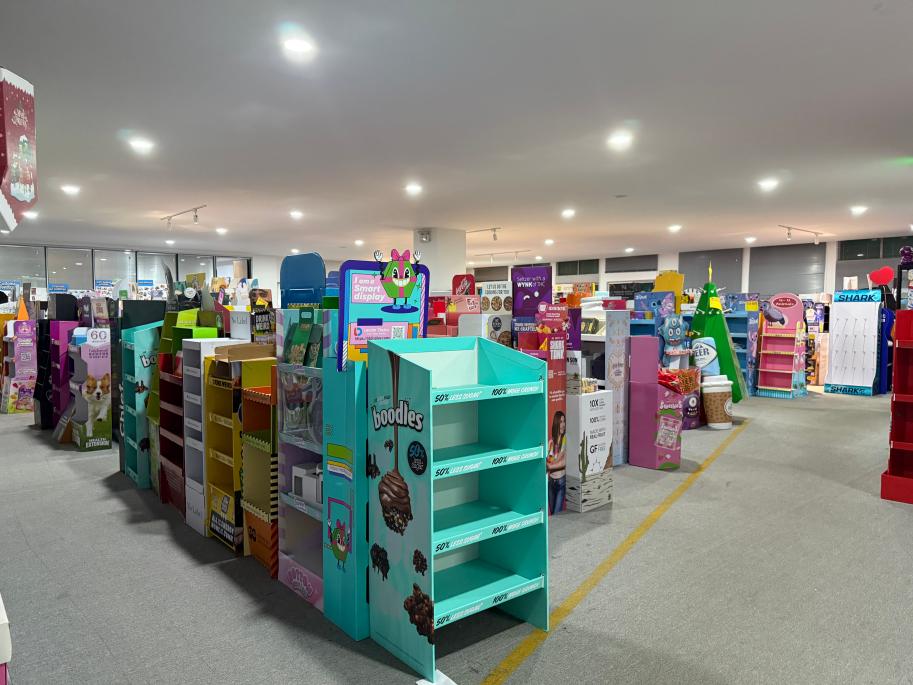
Getting this balance right can seem complicated, but it's not if you break it down. Over my 16 years in this business, I've seen what works and what doesn't. The process is a journey from a simple idea to a powerful sales tool sitting on the retail floor. To make it simple, I've divided this journey into key stages. The first and most critical step is always the planning and design phase. So, let’s start there and walk through each part of building a display that truly performs.
How Do You Nail the Initial Design and Planning Phase?
Jumping into design without a clear plan? This often leads to displays that miss the mark and fail to sell. Let's start by setting clear goals for a design that works.
Nail the design by first defining your goals: what product are you displaying, who is your audience, and what is your budget? Then, create a design brief that outlines dimensions, weight capacity, and brand guidelines. This brief becomes your roadmap for the entire project.

The very first conversation I have with any client, whether it's an experienced designer like Peter or a brand manager, is about their goals. You can't design an effective display in a vacuum. A great display starts with great questions.
Define Your Objectives
What is this display meant to achieve? Is it for launching a new product, clearing old stock, or a special holiday promotion? The goal changes everything. A launch display might need more educational info and a "wow" factor, while a clearance display needs to scream "Value!"
Understand the Retail Environment
You also need to think about the store. Where will the display stand? A display for a wide main aisle can be larger than one meant for a narrow space near the checkout. I once had a client who wanted a massive, complex display. They were so excited about the design, but they forgot to check the retailer's size limits. We had to redesign the whole thing at the last minute, which caused delays. Always get the retailer's guidelines first.
Create a Detailed Design Brief
To avoid problems, create a solid design brief. This document is your project's foundation. It puts everyone—your team, my team, the factory—on the same page.
| Design Brief Checklist | Details to Include |
|---|---|
| Product Information | Product dimensions, weight, and quantity per shelf/display |
| Retailer Requirements | Footprint (width x depth), height restrictions, and placement |
| Project Goals | e.g., New product launch, seasonal sale, brand awareness |
| Budget & Timeline | Cost per unit and key deadlines for design, production, delivery |
| Branding | Logos, color codes, key messages, and overall brand feel |
How Do You Choose the Right Materials and Structure?
Worried your display will buckle under pressure? A weak structure is a disaster waiting to happen, damaging products and your brand. Here's how to ensure your display is strong.
Choose materials based on the weight and quantity of your products. Use single-wall corrugated for light items and double-wall for heavier goods. The structure should use internal supports, load-bearing shelves, and a stable base to ensure it can withstand the retail environment.
A display that looks good is only half the battle. If it collapses in the store, it’s a total failure. For me, structural integrity is just as important as the graphics printed on it. Over the years, I've learned that you can't cut corners on this.
Understanding Corrugated Board
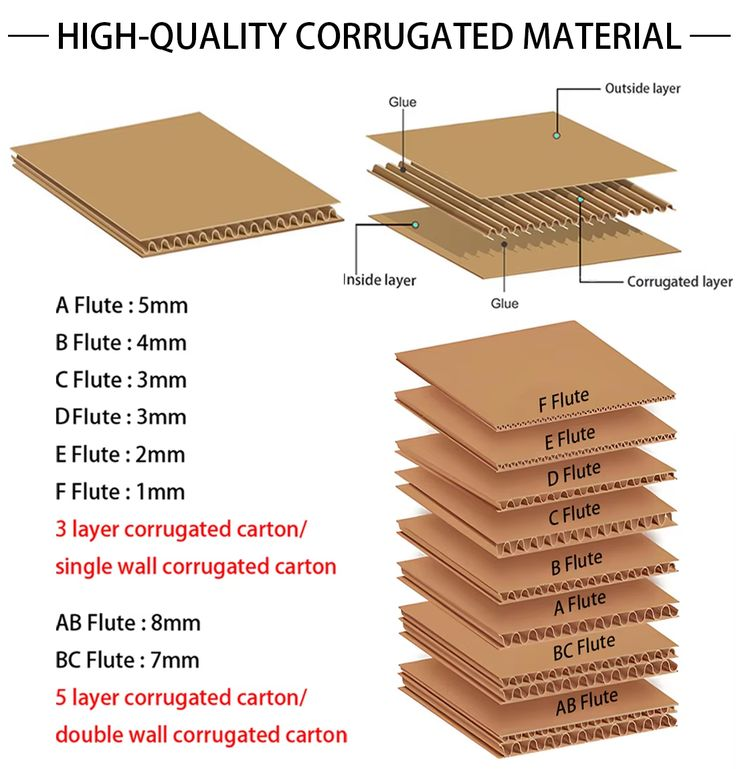
Not all cardboard is the same. The strength comes from the "flute," which is the wavy paper layer glued between the liner sheets. Different flutes offer different levels of strength and printability. For a product designer like Peter, knowing the basics is key.
| Flute Type | Common Use Case | Key Feature |
|---|---|---|
| E-Flute | Small boxes, high-quality printing surface | Thin, provides a smooth print surface |
| B-Flute | Most common for displays, good strength | Good balance of strength and cushion |
| C-Flute | Shipping boxes, thicker than B-Flute | Good stacking strength |
| BC-Flute | Heavy-duty displays, shipping heavy items | Double-wall for maximum strength |
Structural Integrity is Key
The structural design is just as important as the material. I always tell my team to think like engineers. How will weight be distributed across the shelves? We use things like vertical support inserts, interlocking panels, and wide bases to prevent any chance of it tipping over. The design must hold the maximum product weight for weeks, not just days.
The Importance of Prototyping
The single best way to guarantee strength is to make a real prototype. We build one, load it with the actual products (or weights that mimic them), and let it sit for a few days. We even push it around to see how it handles bumps from shopping carts. This testing phase is non-negotiable for me. It finds weak spots before we make hundreds or thousands of them.
What Printing and Finishing Options Will Make Your Display Pop?
Is your display sturdy but bland? A boring display gets ignored, wasting your investment and failing to attract shoppers. Let's make sure your graphics grab everyone's attention.
Use high-quality printing like lithographic printing for photo-realistic images or flexographic for simpler designs. Finishes like gloss or matte lamination not only protect the print but also add a premium feel. These choices should align with your brand identity and budget.

A strong display gets you in the game, but great graphics win it. The retail floor is a noisy, crowded place. Your display has just a few seconds to catch a shopper's eye. This is where high-impact visuals become your most powerful tool.
Choosing Your Printing Method
You have a few main options for printing, and the one you pick depends on your design complexity, quantity, and budget.
| Printing Method | Best For | Pros | Cons |
|---|---|---|---|
| Litho-lamination | High-quality, photographic images; large runs | Superior image quality, vibrant colors | Higher cost, longer setup time |
| Flexography | Simple logos and graphics, 1-3 colors | Cost-effective for large quantities | Lower print quality, not for photos |
| Digital Printing | Prototypes, small quantities, variable data | No setup fees, fast turnaround | Higher cost per unit on large runs |
The Power of Finishing
After printing, a finish is essential. It protects the ink from scuffs and moisture and adds to the look and feel. I almost always recommend at least a basic varnish. For a more premium look, lamination (either gloss or matte) adds durability and a nice texture. I remember working with a client who sold organic dog treats. We chose a matte lamination for their display. It gave it a natural, earthy feel that perfectly matched their brand. The right finish helps tell your product’s story.
Aligning Graphics with Brand
Your display's graphics should scream your brand's name from across the aisle. Use your brand colors, fonts, and logo consistently. The messaging should be simple and direct. Who is this for? What problem does it solve? Answer these quickly. A confused shopper is a lost customer.
How Can You Simplify Logistics and In-Store Assembly?
Your display is perfect, but is it a puzzle to assemble? A complex setup can lead to it being ignored or built incorrectly. Let's make assembly quick and easy from the start.
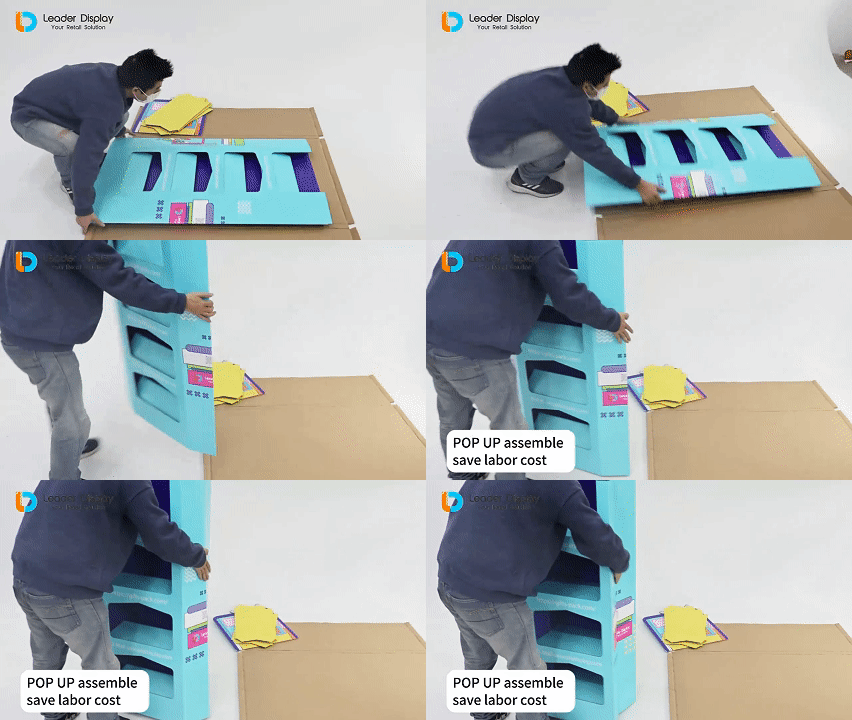
Simplify logistics by designing displays to ship flat (KDF - Knocked Down Flat) in as few boxes as possible. For assembly, create simple, intuitive designs with clear, visual instruction sheets or video guides. The goal is for anyone to assemble it in minutes without tools.
The life of your display doesn't begin until it's on the store floor. Getting it there safely and ensuring it's assembled correctly is a huge challenge that many people overlook. I've learned that a brilliant design is useless if it can't be executed in the real world.
Design for Shipping
First, we think about shipping. We almost always design displays to be shipped "knocked down flat," or KDF. This means all the pieces are packed flat in a carton. This saves a massive amount on shipping costs and reduces the risk of damage during transit. The alternative is shipping it pre-assembled, which is much more expensive and risky.
| Shipping Style | Pros | Cons |
|---|---|---|
| KDF (Flat-Packed) | Lower shipping costs, less damage risk | Requires assembly at the store |
| Pre-Assembled | No assembly required, ready to use | Very high shipping costs, high risk of damage |
Foolproof Assembly Instructions
The challenge with KDF is that someone at the store has to build it. My rule is simple: if a busy store employee can't assemble it in under 10 minutes, the design has failed. We create step-by-step instructions with clear diagrams and minimal text. We number the parts and use simple locking tabs instead of glue or tools. I've even made short assembly videos that clients can send to their sales reps.
Kitting and Fulfillment
The final step is kitting. This means we pack everything into one box: the display parts, the instruction sheet, and any hardware needed. Sometimes, we even pack the products into the display before shipping, creating a "pre-filled" or "PDQ" (Product Display Quickly) unit. This is the ultimate in convenience for the retailer, but it requires careful planning. Watching someone assemble one of my designs for the first time is the ultimate test. If they don't look confused or frustrated, I know we've done our job right.
Conclusion
Creating a great corrugated display involves balancing design, strength, graphics, and logistics. Plan each step carefully, and you'll create a powerful sales tool that gets results in any retail store.


