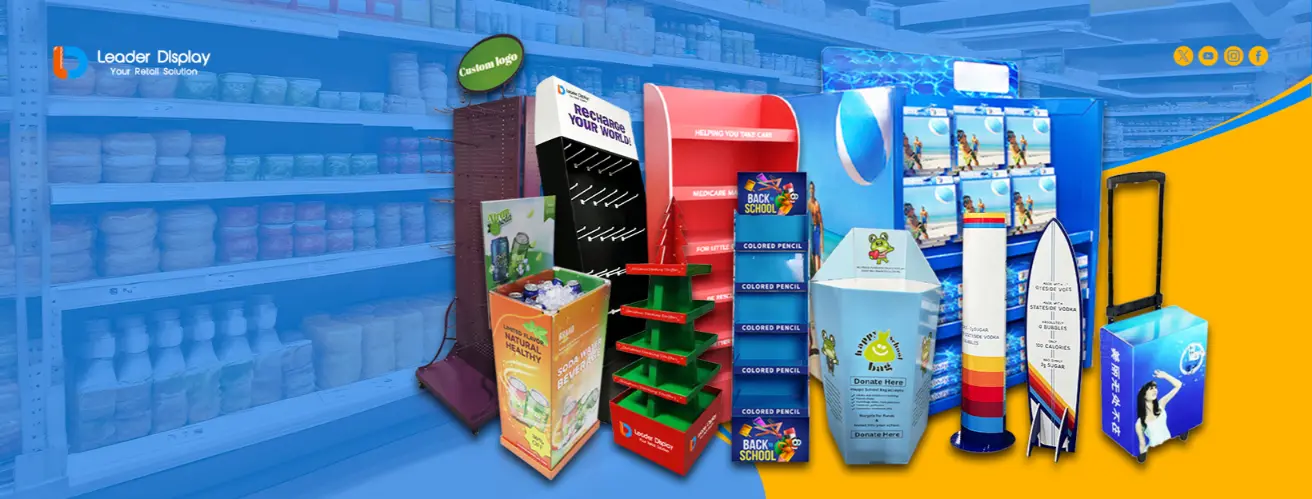
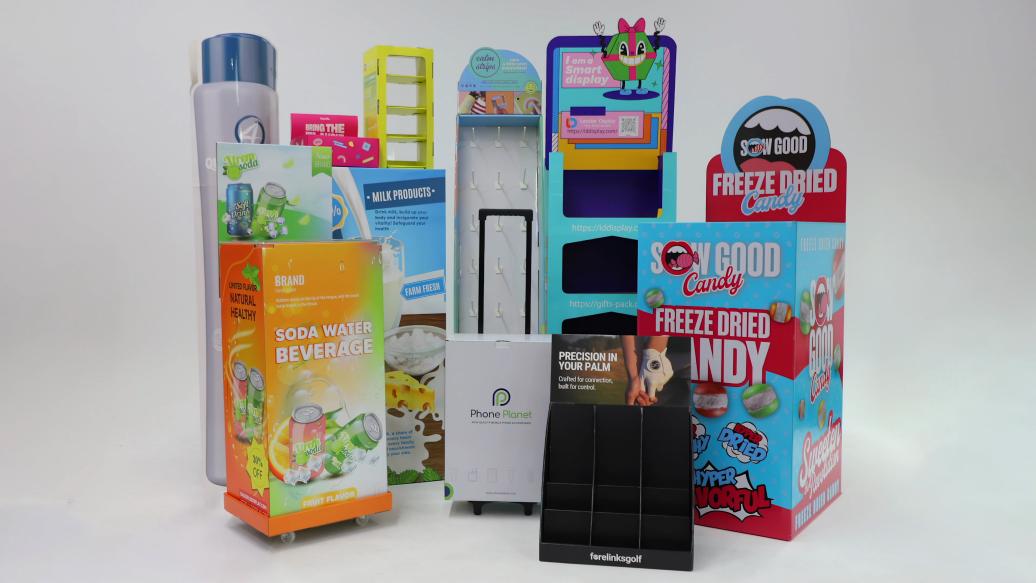
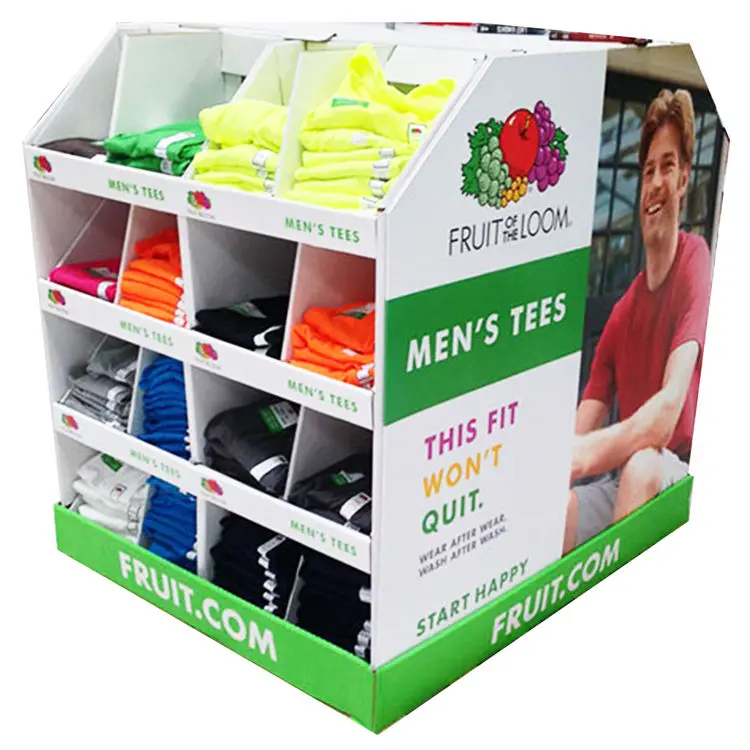
Ordering custom displays can feel complicated. This confusion can cause delays and budget issues. I’ll break down the process to show you how simple it can be.
The process for ordering custom cardboard displays generally follows five key steps. It starts with consultation and design, moves to quoting and approval, then prototyping a sample. After the sample is approved, we begin mass production, followed by the final shipping and logistics to get the displays to you.
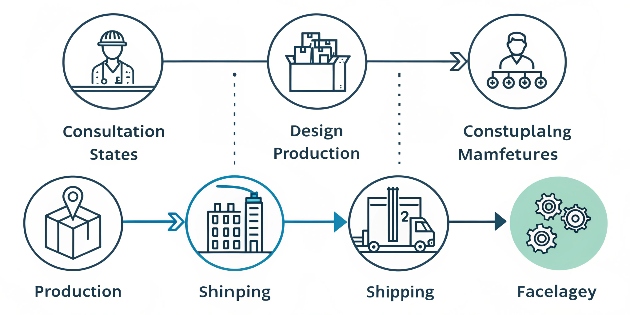
Now that you have the big picture of the ordering process, you can see it’s a structured journey. To make sure we're always on the same page, it's helpful to know the language we use in the industry. Let's start with what these displays are actually called, as this helps avoid a lot of confusion right from the start. Understanding the basic terms is the first step toward a successful project.
What are cardboard displays called?
Have you ever been confused by all the different names for cardboard displays? Using the wrong term can lead to misunderstandings with your supplier. Let's clear up the terms we use.
Cardboard displays are most commonly called Point of Purchase (POP)1 or Point of Sale (POS)2 displays. Other frequent names include FSDUs (Free Standing Display Units)3 and retail displays4. The specific term often depends on their function and where they are placed in a store.
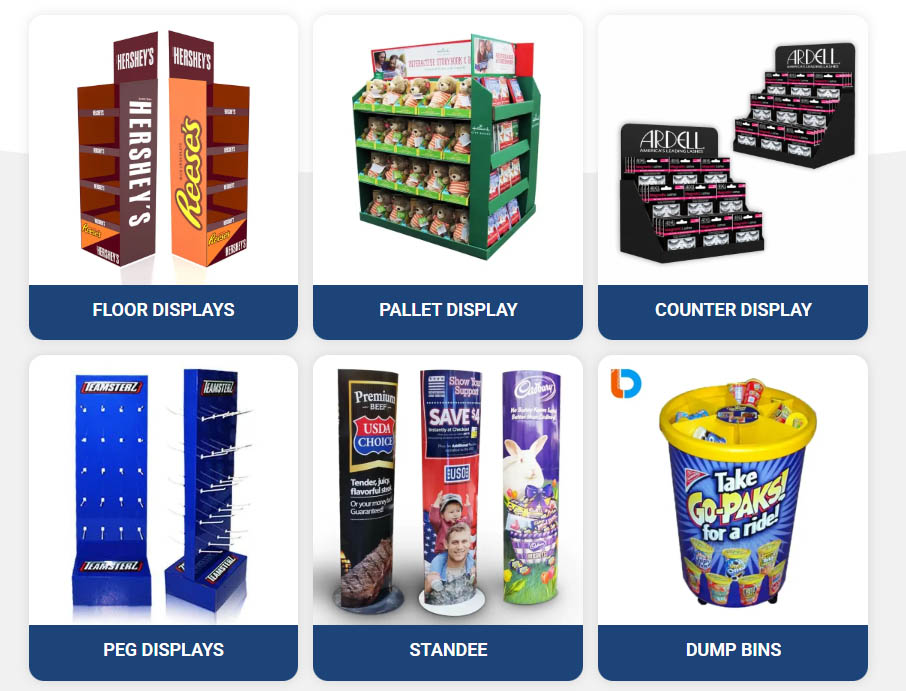
In my 16 years in this business, I’ve found that projects run much more smoothly when everyone understands these key terms. Knowing exactly what to ask for ensures you get a display that fits your goals perfectly. It’s all about speaking the same language. For example, a client once asked for a "big box for the floor," which is fine, but when I introduced them to the term "FSDU," it opened up a whole new world of design possibilities5 for them.
POP vs. POS Displays
People often use these terms interchangeably, but there's a small difference. A Point of Purchase (POP) display is placed anywhere in the store where a customer might make a buying decision, like at the end of an aisle. A Point of Sale (POS) display is located right where the transaction happens, like on the checkout counter.
Common Display Names and Types
To help you even more, here is a simple table of the most common display types and where you would typically use them. For a designer like Peter, knowing these types is fundamental.
| Display Name | Common Use Case |
|---|---|
| FSDU (Free Standing Display Unit) | A standalone display placed in store aisles or open areas. |
| Counter Display Unit (CDU) | A small display for impulse-buy items on a checkout counter. |
| Pallet Display | A large display shipped on a pallet, often for high-volume products. |
| Dump Bin | A large, open-top bin for discounted or loosely packed items. |
What is the process of cardboard?
Do you ever look at a sturdy display and wonder how it starts as simple paper? Not understanding this can make you miss its full design potential. I'll explain this amazing process.
The process of making corrugated cardboard6 involves gluing one or more layers of fluted (wavy) paper, called the medium, between flat linerboard7s. This sandwich-like structure is what gives the final board its impressive strength and rigidity, making it perfect for building displays.
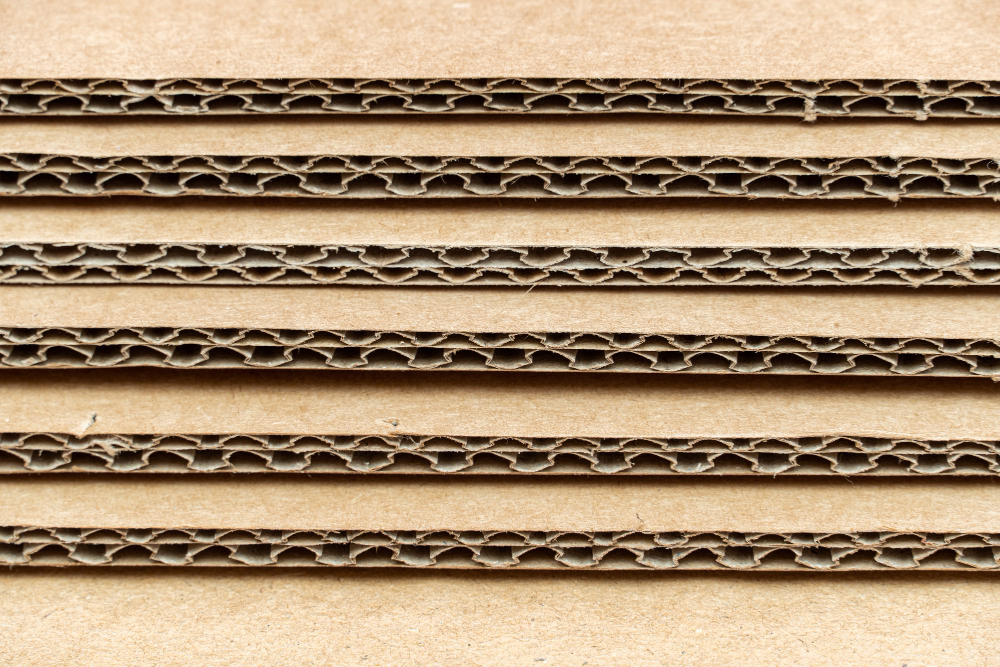
The transformation from paper to a structural material is really the foundation of everything we do. I often tell my team that we are not just making displays; we are engineering with paper. This perspective helps us push the boundaries of what is possible. It’s this core process that allows us to create everything from a simple counter display to a massive, weight-bearing FSDU.
The Key Ingredients
The two main components are linerboard7 and medium. Linerboard is the flat paper that forms the outer surfaces. The medium is the wavy, fluted paper in the middle. We often use paper with high recycled content, which is a big part of our commitment to eco-friendly solutions.
The Corrugator Machine
A huge machine called a Corrugator brings these materials together. It uses large, heated rollers with teeth to bend the medium paper into its wave shape. Then, it applies adhesive and presses the linerboard7s onto both sides of the fluted medium8.
Flute Types and Strength
The size of the wave, or "flute," makes a big difference.
- B-Flute9: Thinner, with more flutes per foot. It provides a great printing surface.
- C-Flute10: The most common type, offering good all-around strength.
- E-Flute11: Very thin, almost like paperboard. It’s excellent for high-quality printing on retail packaging.
We can even combine layers, creating double-wall board (like BC-flute) for displays that need to hold very heavy products. The process ends with the machine cutting the continuous board into large sheets, ready for printing.
What is the process of making cardboard called?
You know the steps, but what are the technical names for them? Using the right industry terms helps you communicate more effectively with any manufacturer. Let's learn the language together.
The main process is called "corrugating." This refers to making the actual corrugated board. The steps that follow, which turn that board into a finished product like a display, fall under the general term "converting."
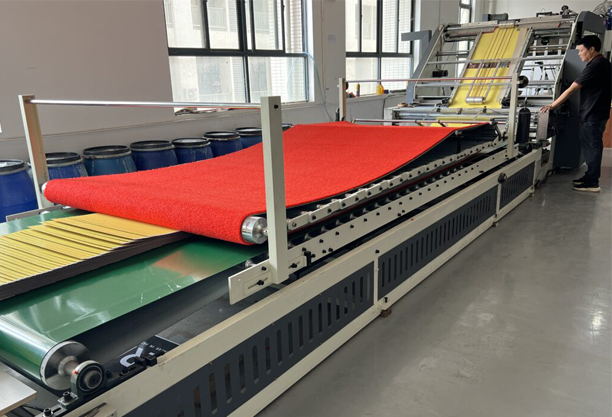
For a designer like Peter, understanding the 'converting' stage is probably the most important part of the entire manufacturing journey. This is where a digital design file becomes a real, physical object that people can see and touch. Knowing what happens during converting—and its possibilities and limitations—is key to creating designs that are not only beautiful but also practical to produce. I've seen brilliant designs fail because they didn't consider the realities of the converting process12.
Upstream Processes
Before we even get to the cardboard, there are the "pulping" and "papermaking" stages. This is how the raw wood fibers or recycled materials are turned into the large rolls of linerboard7 and medium that we use.
The Core Process: Corrugating
As we discussed, "corrugating" is the specific term for creating the corrugated board itself. It’s the heart of the operation, where paper becomes a strong, structural material.
The Art of Converting
'Converting' is a broad industry term that covers every step after the board is made. It's how we "convert" a plain sheet into your final display. Here are the key steps:
| Converting Step | Description |
|---|---|
| Printing | Applying your graphics to the board. This can be done with offset, flexography, or digital printing methods. |
| Die-cutting | Using a custom-made tool (a die) to cut the printed board into the precise shape of your display parts. |
| Gluing / Assembly | Folding the die-cut pieces and gluing them together to construct the display. |
| Finishing | Applying coatings like varnish or lamination to protect the print and give it a premium look (e.g., matte or gloss). |
What is the process of making a cardboard box?
To understand how a complex display is made, it helps to first look at a simple cardboard box. Overlooking these basics can lead to complex designs that are difficult to make.
Making a cardboard box starts with a structural blueprint13 called a die-line. A flat sheet of cardboard is printed, then cut and scored using a die. Finally, the cut sheet is folded and glued to create the final box structure. This is the foundation for making complex displays.
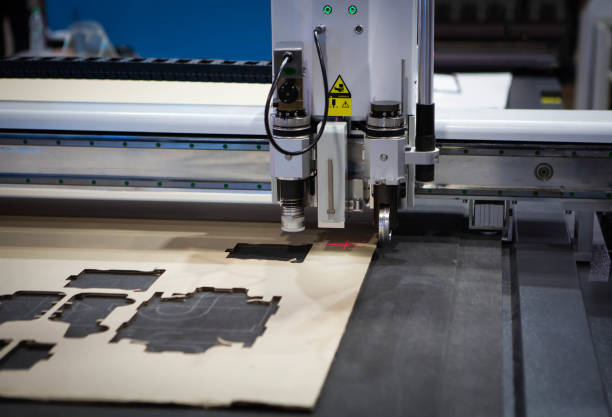
Think of a custom display as a more creative and complex version of a simple box. It uses the exact same principles of structural design, precision cutting, and automated assembly14, but on a much grander scale and with more intricate shapes. When I work with a new designer, I often start by showing them this basic box-making process. Once they see how a flat sheet becomes a 3D object, it clicks. They begin to understand the "rules" of paper engineering, which unleashes their creativity to design amazing displays that are also efficient to produce.
Structural Design and the Die-line
Everything begins with a 2D blueprint, which we call a die-line. This technical drawing shows every cut, fold, and glue tab needed to create the box. For a product designer, creating an accurate and efficient die-line is the most critical first step.
Printing and Die-Cutting
First, we print the graphics onto the flat cardboard sheet. Then, we move it to a die-cutter. The die is a wooden board with sharp steel rules bent into the shape of the box. The machine presses the die against the cardboard sheet, cutting out the shape perfectly and creating crease lines for easy folding. precision is key here to ensure the graphics line up with the cuts.
Folding and Gluing
The final stage is often automated. The flat, die-cut pieces are fed into a machine called a folder-gluer. It quickly folds the piece along the pre-scored lines and applies a strong adhesive to the tabs, forming the finished box. This is how we can produce thousands of boxes or display components quickly and consistently.
Conclusion
From key terms to the manufacturing journey, you now see the clear path. Ordering custom displays15 is a collaborative process, and we are ready to guide you through it.
-
Learn why POP displays are crucial for influencing customer buying decisions in stores. ↩
-
Discover the role of POS displays in maximizing sales at checkout counters. ↩
-
Find out how FSDUs can effectively showcase products and increase visibility. ↩
-
Get insights into various retail display types and their effectiveness in promotions. ↩
-
Get inspired by the innovative designs that can be achieved with custom displays. ↩
-
Discover why corrugated cardboard is a preferred material for durable displays. ↩
-
Find out the role of linerboard in creating strong and effective displays. ↩ ↩ ↩ ↩
-
Learn how the fluted medium contributes to the strength of cardboard displays. ↩
-
Understand the specific uses and benefits of B-Flute in display design. ↩
-
Explore the versatility and strength of C-Flute in various applications. ↩
-
Learn why E-Flute is ideal for high-quality printing and packaging. ↩
-
Discover the steps involved in transforming cardboard into finished displays. ↩
-
Learn how a structural blueprint guides the creation of effective displays. ↩
-
Explore the benefits of automation in speeding up display manufacturing. ↩
-
Explore how custom displays can enhance your marketing strategy and attract more customers. ↩

