Struggling with the logistics of sidekick displays? Missteps in assembly and shipping can easily inflate costs and create headaches for retailers, damaging your entire campaign.
The process includes assembling the display, co-packing it with products, and shipping it either flat-packed for in-store assembly or pre-filled and ready to hang. Proper planning is key to ensuring your displays arrive safely and are easy for stores to use.

Getting a sidekick display from the factory to the sales floor is a detailed process. It's much more than just putting a box on a truck. From my 16 years of experience, I know that designers who understand these steps create displays that work in the real world. Let me break down each stage for you. This will help you avoid common mistakes and ensure your designs succeed from the start.
How Do You Properly Assemble Sidekick Displays for Shipping?
Your display looks great on screen, but will it assemble easily? A complicated setup can lead to incorrect builds in-store, ruining your product's presentation and wasting your investment.
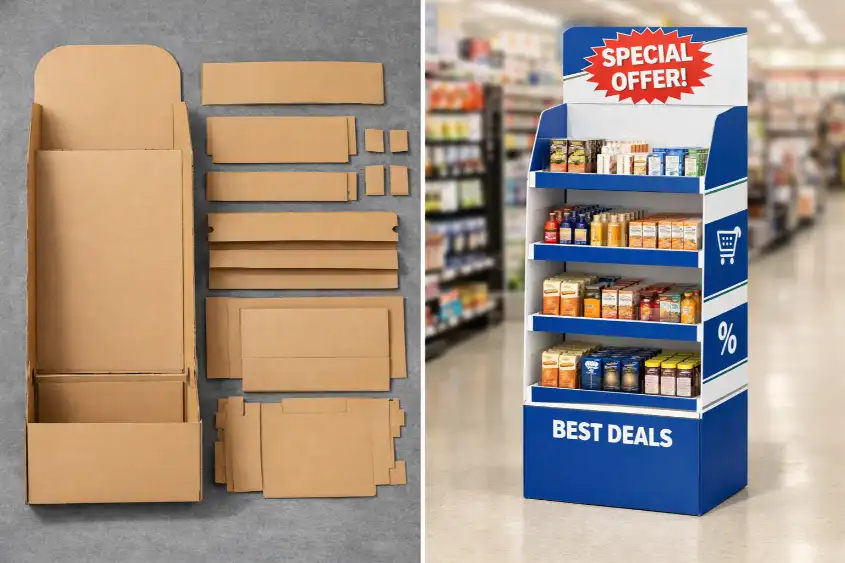
Proper assembly starts with a smart design. Use clear instructions, color-coding, or numbered tabs. For pre-filled displays, ensure the structure is fully secured with locking tabs or even a little glue before any products are added. This prevents collapse during transit.

In my experience, the assembly phase is where many great designs either shine or fail. It all comes down to planning for who will build it and where. I once worked with a client whose display was brilliant but had 15 steps. In a busy retail environment, store staff ended up assembling them upside down or skipping steps, and the displays collapsed. We learned a valuable lesson: simplicity is king.
Structural Integrity is Everything
The strength of your display is its foundation. You must consider the total weight of the products it will hold. For lightweight items, an E-flute corrugated board might be fine. But for heavier products like canned drinks or glass jars, you need to use a stronger B-flute or even a double-wall board. We often design internal supports or reinforcement pieces that add strength without complicating the assembly. The locking tabs must be robust and intuitive. A good design means the display feels solid and secure once all the pieces are slotted together.
Ease of Assembly for All Users
You have two main options for assembly, and each affects the design.
| Feature | In-Store Assembly (Flat-Packed) | Pre-Assembly (For Co-Packing) |
|---|---|---|
| Pros | Lower shipping costs, less risk of damage in transit. | Store receives a ready-to-hang unit, ensures brand consistency. |
| Cons | Relies on busy store staff, potential for incorrect assembly. | Higher shipping volume, requires perfect co-packing. |
| Best For | Durable products, simple display designs, smaller budgets. | Fragile items, complex displays, high-value campaigns. |
If you choose in-store assembly, your instructions must be foolproof. Think IKEA-style visuals with minimal text. Numbering the parts and slots can make a huge difference. For pre-assembly at a fulfillment center, the focus is on speed and consistency for the workers there.
What Are the Best Practices for Co-Packing Products into Sidekick Displays?
Worried about products getting damaged or falling out of your sidekick display before it even hits the shelf? Poor co-packing can destroy your inventory and your profits.
Best practices include creating a precise pack-out diagram, using void fill to prevent movement, and conducting drop tests. The goal is to create a solid, self-contained unit where the products and display protect each other during shipping.

Co-packing, or fulfillment, is the critical step where your products meet your display. I've seen beautifully designed displays fail because nobody planned how the products would actually sit inside them for shipping. It needs to be a perfect fit. The entire unit, products and all, must be sturdy enough to be handled as a single item.
The Pack-Out: A Choreographed Dance
A "pack-out diagram" is your best friend here. It's a simple, visual guide that shows the co-packing team exactly how and where to place each product inside the display. This ensures every single display is packed identically, which is vital for both product safety and presentation. The diagram specifies the order of packing and the orientation of each item. This removes guesswork and reduces errors, saving time and money. It also helps calculate the exact weight and dimensions for shipping, which freight companies require. Without this plan, you are gambling with your products.
Protecting the Product and the Display
The packed display needs to survive a rough journey. Sometimes, the products themselves, when packed tightly, add to the overall strength of the unit. I remember a project for a snack company where the bags of chips were rectangular. We designed the sidekick pockets so the bags fit perfectly, which actually helped brace the display walls. For other projects with oddly shaped or fragile items, like cosmetics, we design custom cardboard inserts or dividers. These inserts hold each item securely in place. The entire pre-filled display is then often shrink-wrapped to keep everything tight and clean. This creates one solid block, ready for its outer shipping box.
Which Shipping Method is Best for Your Sidekick Displays?
Choosing the wrong shipping method can be a costly mistake. Your perfectly packed displays could arrive damaged, or you might overspend on freight. So what is the right call?
The best method depends on your timeline, budget, and display type. Flat-packed displays are cheaper to ship but require in-store assembly. Pre-filled displays are more expensive but offer convenience and consistency. Balancing these factors is key.

The choice between shipping flat-packed or pre-filled is one of the biggest decisions you'll make. I always walk my clients through this choice carefully because it affects cost, labor, and the final look in the store. There is no single "best" answer; it depends entirely on the project's priorities. Let's break down the economics and logistics of both.
Flat-Packed vs. Pre-Filled: The Cost-Benefit Analysis
The most obvious difference is the shipping cost. You can fit many more flat-packed displays on a single pallet compared to bulky pre-filled ones. This directly translates to lower freight expenses. However, you are shifting the labor cost to the retailer. You have to ask yourself: will the store staff have the time and skill to assemble it correctly? If not, the savings on shipping could be lost if the displays are never used. Pre-filled displays cost more to ship because you are paying to ship "air," but they offer total control over the final presentation and make life easy for the retailer.
| Factor | Shipping Flat-Packed | Shipping Pre-Filled |
|---|---|---|
| Freight Cost | Lower (more units per pallet) | Higher (more volume, more "air") |
| Risk of Damage | Lower for the display itself during transit | Higher if the unit is not packed correctly |
| Store Labor | Higher (assembly required) | Minimal (just unpack and hang) |
| Brand Control | Lower (risk of assembly errors) | Higher (guarantees perfect presentation) |
The Role of the Master Shipper
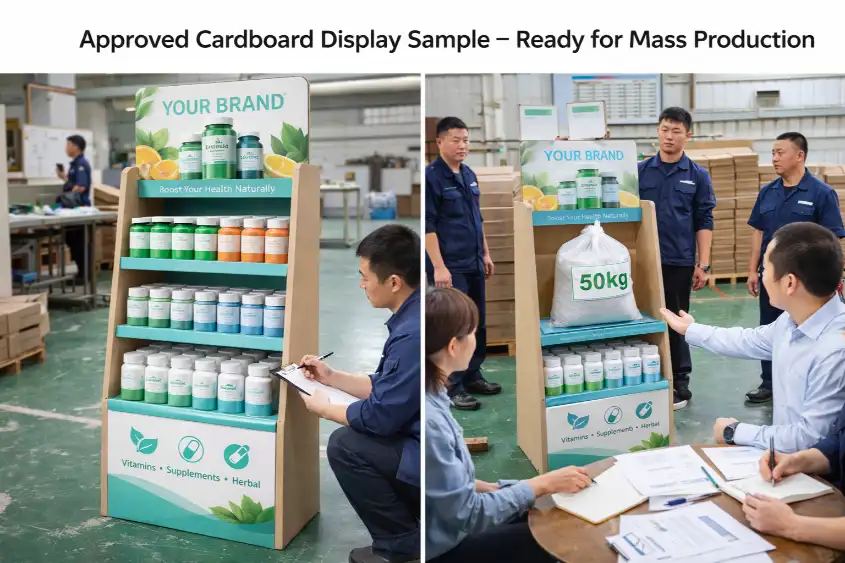
Whether you ship flat or pre-filled, a strong outer box, called a Master Shipper or Master Box Unit (MBU), is essential. For a pre-filled sidekick, this box must be engineered to hold the total weight of the display and products. It is the first line of defense against drops, bumps, and compression in warehouses and trucks. I always recommend that my clients invest in ISTA (International Safe Transit Association) testing. This involves a series of simulated drop, vibration, and compression tests. Passing this test gives you peace of mind that your design is robust enough for the real world. It's a small investment that can save an entire campaign from failure.
Conclusion
Assembly, co-packing, and shipping are all connected. A great sidekick display design considers every stage to ensure a smooth, successful, and profitable launch in the retail environment.