Getting a custom display project started can feel like a maze of questions. This confusion often delays your launch. I'm here to answer the most common questions from my 16 years of experience.
The most common questions are about balancing cost and quality, choosing the right materials, understanding timelines, and providing the correct project details. The answers always depend on your design, quantity, and specific goals.

After all this time in the business, I feel like I've heard every question imaginable. These questions are not just about logistics. They are about making sure your vision comes to life effectively and within your budget. Many designers I work with, just like you, face the same challenges. Let's break down each of these common concerns one by one. This will help you move forward on your next project with total confidence.
How can I get a great display without overspending?
Working with a tight budget is a common challenge. You might worry that saving money means sacrificing quality. Here’s how you can get a great result without breaking the bank.
To balance cost and quality, focus on smart design rather than expensive materials. Simplify the structure, optimize for standard material sizes, and consider your order quantity. A larger order significantly reduces the per-unit cost.
![]()
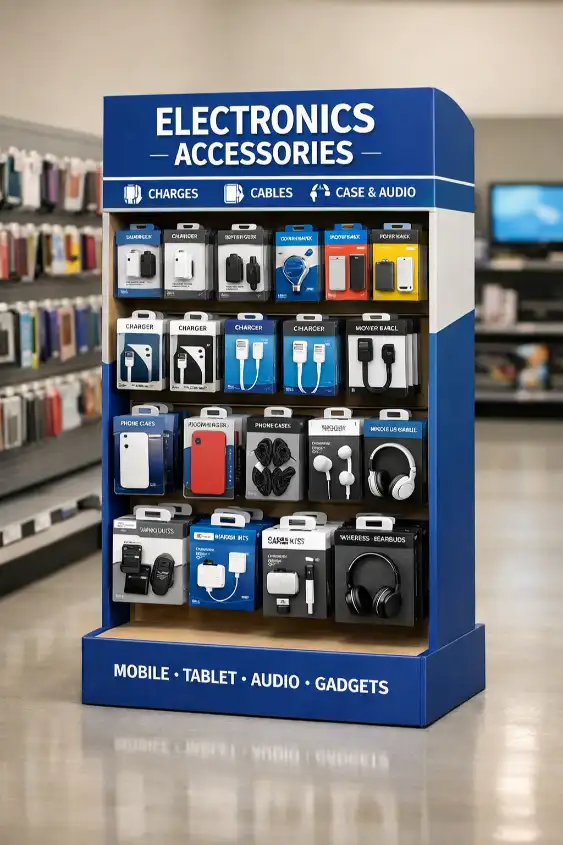
Balancing cost and quality is probably the biggest challenge for a product designer. I see it every single day. The secret isn't always about using cheaper materials, which can make your brand look bad. The real solution is about smarter design and better production planning. I've built my career on finding that perfect balance for my clients.
Design Simplicity is Key
A complex display with many parts might look impressive, but it costs more. It uses more material, requires more expensive cutting tools, and takes longer to assemble. My team and I often work with designers to simplify a structure without losing its visual power. Sometimes, one clever fold or a single well-placed support can do the job of three separate pieces. This doesn't just save money. It can also make the display stronger and much easier to set up in the store.
The Impact of Quantity
The per-unit price of a display drops a lot as your order quantity goes up. This is because the setup costs for things like printing plates and cutting dies are spread across more units. It's a simple economy of scale.
| Quantity | Price Per Unit (Example) | Total Cost |
|---|---|---|
| 200 | $15.00 | $3,000 |
| 500 | $10.00 | $5,000 |
| 1000 | $7.50 | $7,500 |
As you can see, doubling your order from 500 to 1000 doesn't double the price. It's something you should really consider if you have the storage space and expect steady sales.
What are the best materials for durability and sustainability?
Choosing a material can feel confusing with so many options. You want something that will be strong enough, but you also want it to be eco-friendly. Let's look at the best choices.
For durability, I often recommend B-flute or E-flute corrugated cardboard, sometimes with a coating for extra strength. For sustainability, choose materials with high recycled content, like Kraft paper, along with water-based inks.

The material you choose affects everything. It impacts the strength, print quality, cost, and environmental footprint of your project. For experienced designers, knowing these material details is crucial. Here is what I've learned after working with these materials for over a decade.
Understanding Corrugated Flutes
The "flute" is the wavy paper layer inside the cardboard. Different flute sizes give you different benefits.
- B-Flute: This is a fantastic all-purpose choice. It offers good stacking strength and puncture resistance. It is perfect for most Point of Purchase (POP) displays that need to hold a moderate amount of product weight. I use this for about 70% of the floor displays we produce.
- E-Flute: This flute is much thinner and has more waves per foot. This provides a very smooth surface, which is excellent for high-quality, detailed printing. We often use it for smaller countertop displays or packaging boxes where the graphics are the top priority.
- BC-Flute: This is a strong, double-wall board that combines a B-flute and a C-flute layer. We use this for heavy-duty floor displays, like those you see in big-box stores, that need to support a lot of weight for a long time.
Sustainable Choices Beyond the Board
Sustainability is about more than just using recycled paper. We also need to think about the inks and coatings. I always recommend water-based inks over solvent-based ones. They have fewer volatile organic compounds (VOCs) and are better for the environment. For coatings that protect the print, a water-based varnish is more easily recyclable than a plastic film lamination. Kraft paper, which is unbleached cardboard, is another great option. It has an earthy, natural look that instantly tells the customer you care about sustainability.
How long does the entire design and production process usually take?
Project deadlines are always looming large. You are probably stressed about whether you can get your displays produced and delivered in time for a product launch. I’ll break down a typical timeline.
A typical custom display project takes 3 to 4 weeks from start to finish. This includes about 2-3 days for the initial design, 3-5 days for sampling, and 10-15 business days for mass production.

This is one of the most critical questions because the timeline impacts your entire marketing and launch plan. I always tell my clients to plan for about 3-4 weeks from the moment we start to the day the displays ship out. Let's look at the stages in more detail.
The Design and Sampling Phase
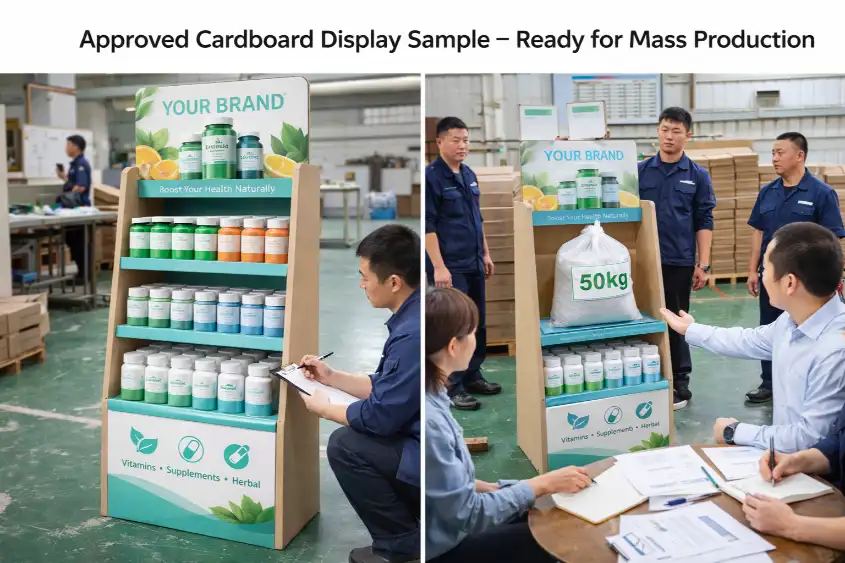
This is where we turn your idea into something you can hold. It starts with my team creating a structural design and a dieline, which is the flat template for your artwork. This usually takes 2-3 days. You then place your artwork on this dieline. After we get the final artwork, we create a physical sample. This step is so important and takes about 3-5 days. It allows you to test the structure, check the print quality, and make sure your product fits perfectly. Getting quick feedback from your side during this stage is the best way to keep the project on schedule. Any delays in approving the sample will directly delay the final delivery date.
The Mass Production Phase
Once you approve the sample, we move to mass production. This phase is a well-oiled machine but still takes 10-15 business days on average.
| Production Step | Typical Duration |
|---|---|
| Printing | 2-3 days |
| Surface Finishing | 1-2 days |
| Die-Cutting | 2-3 days |
| Gluing & Assembly | 3-4 days |
| Packing & QC | 1-2 days |
The total time always depends on the complexity of the display and the size of the order. A simple printed box is much faster to produce than a large floor display with many unique parts. Clear and constant communication is the absolute key to meeting your deadlines.
What information do you need from me to start a project?
Starting a new project can feel a little disorganized. You don't want to forget key details and cause delays or miscommunication. I've created a simple checklist to help you get started smoothly.
To start a project, I need your product samples (or their exact dimensions and weight), your desired display style or a reference image, your estimated quantity, and your target budget.

The more information you give my team and me upfront, the faster and more accurately we can create a design that meets your needs. I really see it as a partnership. Your detailed information helps me use my experience to get you the very best result. Here’s a breakdown of what I typically ask for at the beginning of any project.
Product-Specific Information
This is the most important part. The display exists to hold your product, so we need to know all about it.
- Physical Product Samples: If you can, always send us your actual products. This allows us to test the fit and structural integrity with the real weight and shape. There is no better way to guarantee a perfect design.
- Dimensions and Weight: If samples aren't available, we need the exact length, width, height, and weight of each product.
- Product Placement: We need to know how many products you want to fit on each shelf or within the entire display.
Project Goals and Constraints
This information helps us understand your vision and the rules we need to follow.
- Reference Images: Please send photos or links to displays you like. It doesn't have to be for the same product. This helps me understand the style and look you are going for.
- Quantity: Your estimated order quantity is essential for an accurate price quote.
- Budget: Being open about your target budget per unit helps us recommend the right materials and design complexity from the start.
- Retail Environment: Tell us where this display will be used. A display for a big-box store like Costco has very different strength requirements than one for a small local shop. Knowing this is critical.
Conclusion
Answering these questions about cost, materials, timelines, and project details will help make your next custom display project a success. Collaboration and clear communication are always the foundation of great work.