Struggling to make your products stand out on crowded retail shelves? A generic display can make your brand invisible. I'll show you how to choose a custom display that grabs attention.
The key factors are your product's specifications, the retail environment, structural strength, budget, and overall brand alignment. A successful display balances visual appeal with practical durability and cost-effectiveness to maximize your sales impact.

Choosing the right display might seem complex. But after 16 years in this business, I've seen what works and what doesn't. It really comes down to asking the right questions from the start. Let me walk you through the most important things you need to consider. This will help you get a display that not only looks great but also works hard for your brand.
How Can You Ensure Your Display Is Both Visually Appealing and Structurally Sound?
Worried your beautiful display concept might be too fragile? A stunning display that collapses is a retail nightmare. Let's talk about balancing brilliant design with robust, practical engineering.
Focus on material choice and structural design right from the beginning. Use prototyping to test its strength with your actual products. Marrying creative graphics with smart engineering ensures your display is eye-catching and durable enough for the shop floor.

The entire process begins with your product. You have to know its weight, its dimensions, and how many units you want the display to hold. This information dictates everything else. For me, this is non-negotiable. I always ask clients for product samples before we even start sketching.
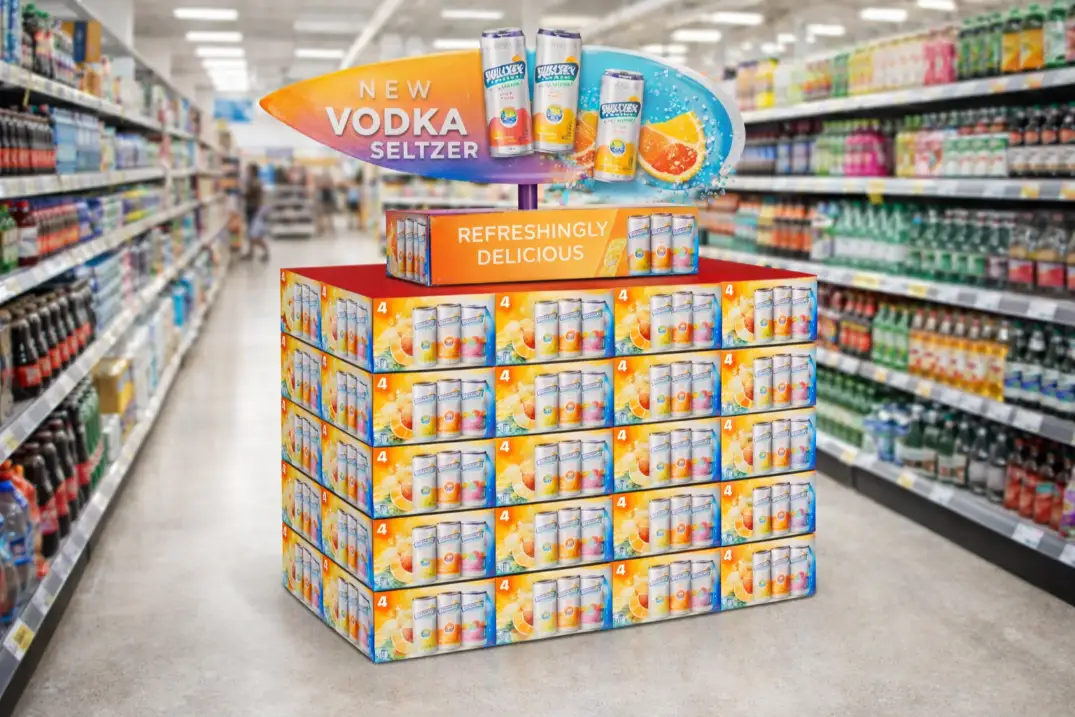
Once we have the product details, we can choose the right material. This is where experience really counts. For lighter items like cosmetics, a thinner E-flute corrugated board can work perfectly. It offers a smooth surface for high-quality printing. But for heavier products like glass jars or beverage bottles, you need something stronger, like B-flute or even a double-wall board like BC-flute. I once had a client who wanted a very delicate, wing-shaped display for heavy drink bottles. Our designer created an internal support system using a stronger B-flute that was completely hidden. The final display looked light and airy but was incredibly sturdy. It’s all about using smart engineering behind the scenes.
Here's a simple guide to common materials:
| Flute Type | Thickness (approx.) | Best For |
|---|---|---|
| E Flute | 1.5 mm | Lightweight products, high-quality printing surfaces |
| B Flute | 3 mm | All-purpose strength, good for most display needs |
| C Flute | 4 mm | Primarily for shipping boxes, good stacking strength |
| BC Flute | 7 mm | Heavy-duty items, maximum strength and protection |
Prototyping is the final, crucial step. A 3D render looks great on screen, but you can't feel its strength. We always build a physical, unprinted prototype first. We load it with the actual product to test its stability and durability. This is where we find and fix any weak points before we go into full production. It saves everyone a lot of headaches and money down the road.
What's the Best Way to Balance Budget with the Desired Impact of Your Display?
Afraid that a truly custom display will break your budget? High costs can kill a great marketing campaign before it even starts. There are smart ways to get amazing results without overspending.
Prioritize features that directly impact sales, like bold graphics and clear messaging. You can simplify the structure and optimize for flat-packing to reduce costs. A slightly higher upfront investment in a good design often yields a much better return.

When you're working with a budget, you need to be strategic. You have to decide where to spend your money to get the most impact. My advice is to never skimp on the graphics. Your display’s main job is to grab a shopper's attention from across the aisle. Bold colors, high-resolution images, and a clear brand message are what drive sales. This is where you should invest.
Where can you save? Structural complexity. Sometimes, a simple, well-thought-out structure is just as effective as a complicated one. Over-engineering a display with too many tiers or intricate die-cuts adds cost in both production and assembly time. I often work with clients to simplify their initial ideas into something more streamlined but just as effective. A clean design often makes the product the hero, which is the ultimate goal.
Order quantity also plays a huge role in the per-unit cost. The initial setup for printing plates and die-cutting tools is a fixed cost. So, producing 500 displays is far more cost-effective per unit than producing only 50. If you can, plan your campaign to maximize your order volume.
Finally, think about the display as an investment, not an expense. I once had a client who was hesitant about a $5,000 floor display. But in the first month, they saw a 30% sales lift in stores that had the display. The unit paid for itself almost instantly. You have to measure the return on investment, not just the initial cost.
How Do Logistics and Sustainability Influence Your Custom Display Choice?
Do you ever overlook shipping and assembly? A display that is a nightmare to ship or build in-store creates hidden costs and frustration. Let's make sure your display is as practical as it is attractive.
Choose displays designed for flat-packing to save on shipping and storage costs. Ensure assembly is intuitive with clear instructions. For sustainability, opt for recycled materials and eco-friendly inks to align with modern consumer values.

Logistics should be part of the design conversation from day one. The goal for almost every project I manage is to design a display that can be shipped flat. This dramatically reduces shipping costs because you aren't paying to ship air. It also means they take up less space in a warehouse before they're sent to stores. We often create "kits," where we package the folded display, any support pieces, and assembly instructions into one neat box.
Assembly is the next critical step. Store employees are busy. They don't have an hour to decipher complex instructions. If a display is too hard to build, it might be assembled incorrectly or, worse, not at all. We learned this lesson the hard way years ago. We sent out a beautiful but complex display, and reports came back that half of them were put together wrong. Now, we have a rule: if someone on our team who has never seen the design can't assemble it in under five minutes, we go back and simplify it. A simple instruction sheet or a QR code linking to a short assembly video works wonders.
Sustainability is no longer just a bonus; it's a core requirement for many brands and retailers. The good news is that cardboard is an inherently sustainable choice. It's recyclable and often made from a high percentage of post-consumer recycled content. We always recommend using eco-friendly inks, like soy-based or water-based options, to further reduce the environmental impact. Highlighting that your display is fully recyclable on the display itself can even be a positive message for your brand.
Conclusion
Ultimately, choosing the right cardboard display means balancing creative design with structural strength and your budget. By focusing on these key factors, you will create a display that protects your product, attracts customers, and boosts your sales.