Struggling to create a display that’s both affordable and professional? A custom-made board seems great, but the cost and complexity can be a major hurdle. You can do it yourself.
To make a cardboard display board, you need sturdy cardboard, a box cutter, a ruler, and glue. First, sketch your design. Then, carefully measure and cut the cardboard pieces. Assemble them using interlocking slots or strong glue, reinforcing the main structure for added durability and a professional finish.

You have the basic steps to get started. But the real difference between an amateur box and a professional display is in the details. Getting these details right ensures your display is strong, looks great, and truly represents your brand. Let's dive deeper into the process, starting with the most important decision you'll make.
What kind of cardboard is best for a display board?
Choosing the wrong cardboard can result in a weak, sagging display. Your hard work could collapse, damaging your products and making your brand look unprofessional. I'll help you pick the right material.
For a sturdy display board, always use corrugated cardboard. Double-wall or triple-wall is best for shelves and supports. Pay close attention to the flute direction. It must run vertically on load-bearing parts to provide the necessary strength. Single-wall cardboard is only suitable for decorative panels.

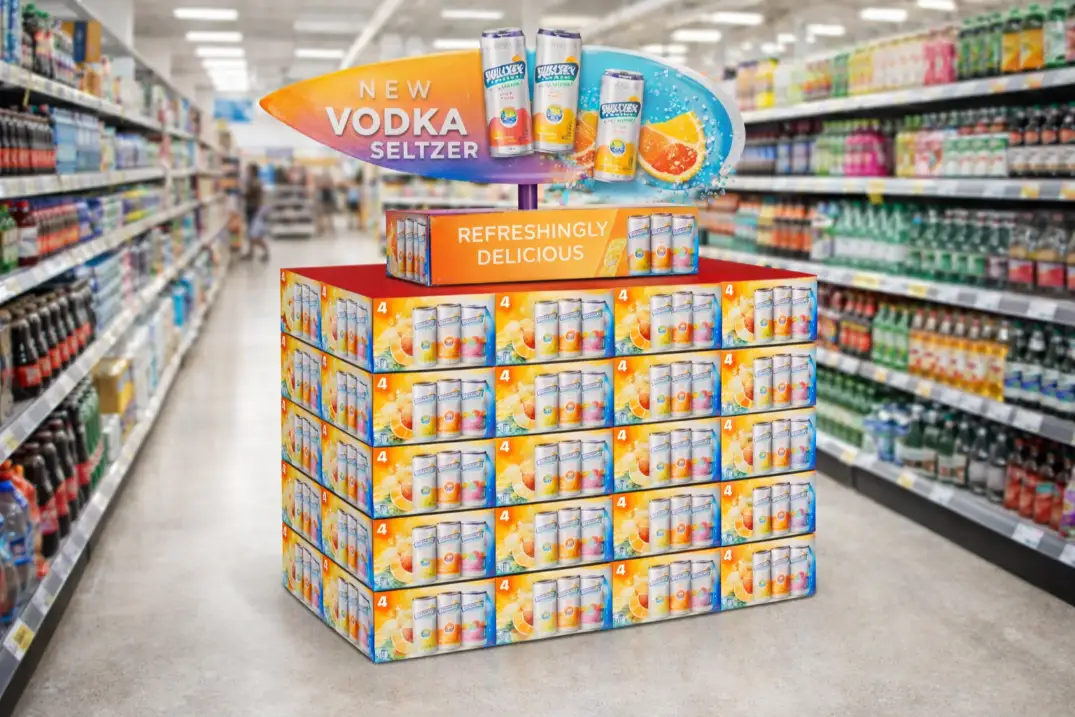
In my 16 years in this industry, I've seen more displays fail from poor material choice than any other reason. The secret is understanding the structure of corrugated cardboard. It's not just paper; it's an engineered material. The wavy layer inside, called the "flute," provides all the strength. For a display that needs to hold weight, you must use the flutes to your advantage. Think of them as tiny columns holding everything up. If you orient the flutes horizontally on a shelf, it will sag and fail. I once saw a beautiful beverage display collapse because the designer made this exact mistake. A simple detail, but it cost the client everything. Always check your flute direction.
Cardboard Types for Displays
| Cardboard Type | Best Use | Strength | Notes |
|---|---|---|---|
| Single Wall (B-Flute) | Side panels, backings, light product holders | Medium | A good all-rounder, but not for heavy-duty shelves. |
| Single Wall (E-Flute) | Printing surfaces, decorative wraps | Low | Very thin, provides a great surface for high-quality graphics. |
| Double Wall (BC-Flute) | Shelves, main structure, support columns | High | The workhorse of the display industry. Excellent strength. |
| Triple Wall | Heavy-duty pallets, support for very heavy items | Highest | Overkill for most displays but useful for extreme loads. |
How do you design a cardboard display for maximum strength?
You have a great design idea, but you're worried it won't actually hold your products. A beautiful display that collapses is worse than no display at all. It can destroy inventory.
To design for maximum strength, use interlocking tabs and slots instead of relying only on glue. Distribute weight with vertical supports and a solid back panel. Create durable shelves by laminating multiple layers of cardboard together or adding internal reinforcement dividers under the shelves.

Think like an engineer, not just a designer. Your goal is to transfer the weight of the products to the floor as efficiently as possible. Glue is great, but mechanical locks are better. Designing pieces that slot into each other creates a solid frame that holds itself together. For shelves, a simple trick I use is laminating. Take two sheets of double-wall cardboard and glue them together with the flutes running in opposite directions (one vertical, one horizontal). This creates a composite board that is incredibly rigid and resistant to bending. I used this technique for a client displaying heavy glass jars of sauce. We built shelves from laminated board and added vertical supports that slotted right through them. The final display held over 50 kilograms per shelf. It's all about managing forces.
Key Structural Elements
- Vertical Supports: These are non-negotiable. They carry the load from the shelves directly to the floor.
- Back Panel: A solid back panel prevents the display from twisting or racking and adds significant stability.
- Interlocking Tabs: Design tabs that lock into slots. This makes assembly easier and the structure much stronger than a simple butt joint with glue.
- Laminated Shelves: For heavy products, gluing two layers of cardboard together at 90-degree flute directions is a must.
What are the best techniques for cutting and assembling cardboard professionally?
Your cuts are jagged and your assembled display looks messy. Rough edges and wobbly joints immediately make your display feel cheap and detract from the product you're trying to sell.
For clean, professional cuts, use a very sharp box cutter and a heavy metal ruler on a dedicated cutting mat. Always score your fold lines first with the back of the blade for crisp creases. Assemble using a hot glue gun for speed or strong wood glue for maximum hold.

The quality of your work comes down to your tools and your technique. A dull blade will tear cardboard, not cut it. I change my blades frequently throughout a project. When you cut, use a metal ruler as a guide and make several shallow passes instead of trying to force the blade through in one go. This gives you more control and a much cleaner edge. For folding, scoring is the secret. Gently run the back of your knife blade or a bone folder along your fold line. This creates a channel for the cardboard to fold along perfectly. Before you reach for the glue, always do a "dry fit." Assemble the entire display without any adhesive to ensure every piece fits perfectly. It is so much easier to trim a millimeter off a tab before it's covered in sticky glue. This one step has saved me from countless headaches over the years.
Choosing Your Adhesive
| Adhesive Type | Speed | Strength | Best For |
|---|---|---|---|
| Hot Glue | Very Fast | Medium | Tacking pieces in place, light-duty joints. |
| PVA/Wood Glue | Slow | High | Laminating shelves, permanent structural bonds. |
| Spray Adhesive | Fast | Low-Medium | Attaching large printed sheets or wraps. |
How can you finish and decorate your cardboard display to look amazing?
Your display is strong and well-built, but it still just looks like a pile of brown cardboard. A plain box won’t grab attention or communicate the quality of your brand.
To create a stunning finish, you can paint the display with acrylics or spray paint, but be sure to use a primer first. For a flawless look, wrap it in printed paper or adhesive vinyl. Add branding with a custom-cut header card attached to the very top.

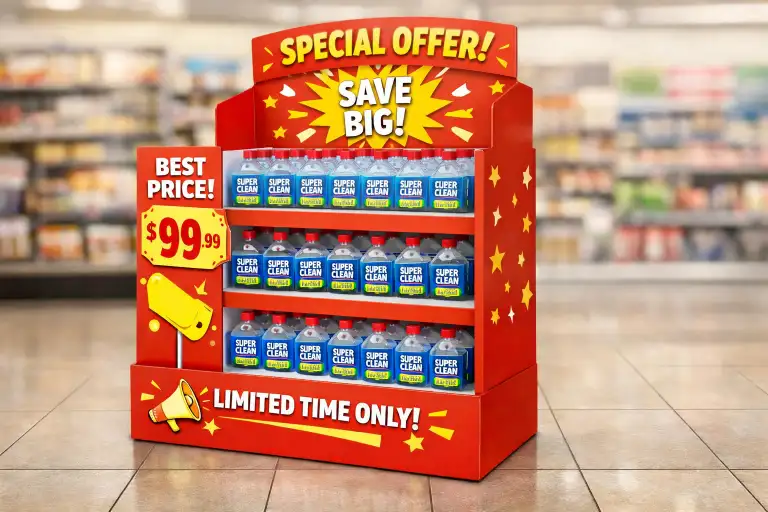
The finish is what ultimately sells the product. A raw cardboard surface is porous and will soak up paint unevenly. I always start with a coat of water-based primer or gesso. This seals the cardboard and creates a smooth, even surface to work on. It makes a huge difference in the final quality. Spray paint can provide a quick, even coat, while hand-painting with acrylics allows for more detailed designs. For an even more professional look, consider wrapping. You can get large sheets of paper or vinyl printed with your branding and wrap the individual pieces before assembly. This gives you a seamless, factory-quality finish. The most important part is the header card. This is the sign at the top of the display. It should have your logo and key message, and it’s what customers will see from across the store. It’s what draws them in.
Finishing Options
- Primer and Paint: Seal with a primer, then apply your chosen color with a brush, roller, or spray can.
- Vinyl or Paper Wrap: For a clean, graphic-heavy look, print your design and wrap the cardboard pieces.
- Header Cards: This is your main billboard. Make it bold and easy to read.
- 3D Elements: Add dimension by cutting out logos from foam board or layered cardboard and gluing them onto the display.
Conclusion
You now have the professional knowledge to choose the right materials, design for strength, and finish your display beautifully. Go create a cardboard display that makes you proud and sells your product effectively.