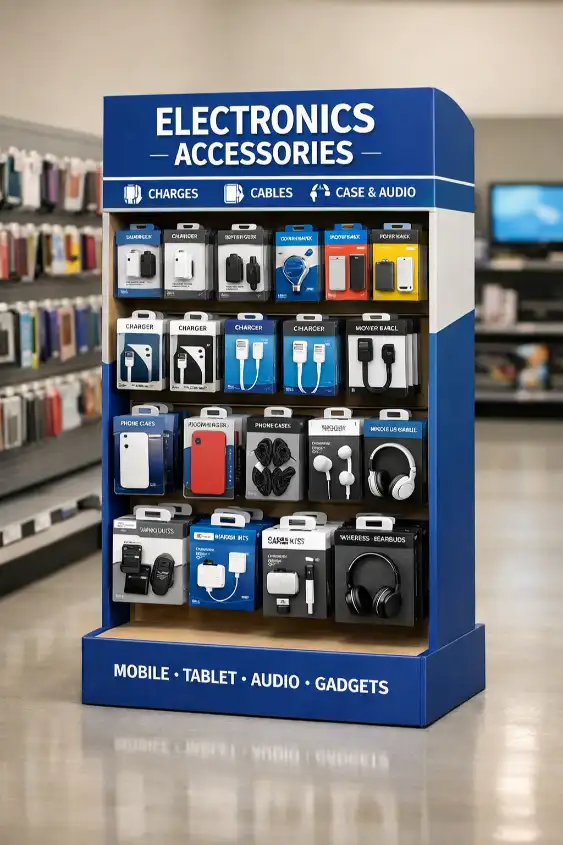
Struggling to get your product noticed in a crowded aisle? A custom sidekick display seems complex, but it's a straightforward process that boosts sales and brand visibility in any retail store.
The custom process involves five key steps. It starts with an initial consultation to define your needs, moves to structural and graphic design, then to prototyping for testing. After approval, we begin mass production and finally handle logistics and delivery to your desired locations.

This process seems like a lot, but we've made it simple. Over my 16 years in the cardboard display industry, I’ve refined these steps to ensure a smooth journey from a simple idea to a finished product on the retail floor. It’s all about clear communication and collaboration. Let me walk you through exactly how we turn your vision into a reality, step by step. This guide will show you how we work together to create a stunning and effective sidekick display for your products.
How do we start the design process for a sidekick display?
Unsure how to begin your custom display project? The many options can feel overwhelming, but a clear starting point makes all the difference and sets you up for success.
We begin with a detailed consultation. In this first meeting, we discuss your product specifications, branding goals, retail environment, budget, and timeline. This conversation helps us define the project's scope and gather all necessary information.

This initial step is the most critical part of the entire process. I see it as building the foundation for a strong house. If the foundation is weak, the rest of the structure will be too. That's why we spend a lot of time here. I recently worked with Peter, a product designer, who had a great product but wasn't sure how to display it. During our first call, we just talked. We discussed everything from the weight of his product to the colors of his brand logo. This conversation helped us both get on the same page. By the end, we had a clear direction that guided the whole project.
Gathering Key Information
To design the perfect sidekick display, we need specific details. We start with the basics like the size and weight of your product. We also need to know how many products you want to fit on each display. This information helps us determine the right materials and structure. Then, we look at your brand guidelines to make sure the design matches your company's look and feel.
| Information Needed | Why It's Important |
|---|---|
| Product Dimensions/Weight | Determines the size and strength of the display. |
| Product Quantity | Helps design the layout and number of shelves. |
| Brand Guidelines | Ensures the artwork is consistent with your brand. |
| Retail Environment | Affects design choices to fit the store's style. |
| Budget & Timeline | Guides material selection and production schedule. |
Brainstorming Initial Concepts
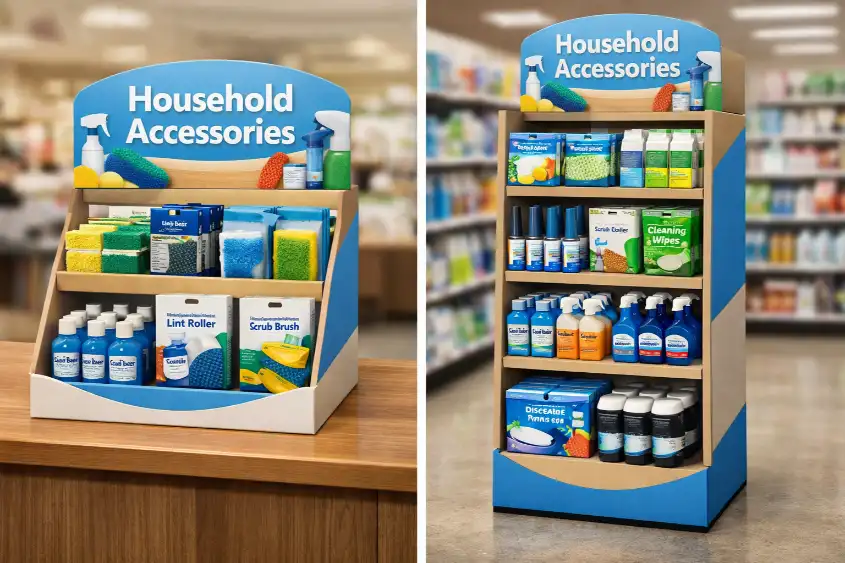
Once we have all the information, the creative work begins. We start brainstorming different ideas for the display's shape, structure, and graphics. We might look at what your competitors are doing or explore completely new concepts. The goal is to find a design that is not only functional but also grabs the attention of shoppers. We create rough sketches and digital mockups to help you visualize what the final display will look like. This collaborative part of the process ensures the final design truly represents your brand.
What happens during the structural design and prototyping phase?
A design might look great on screen, but will it hold up in a busy store? You need to be sure your display is strong enough before making hundreds of them.
This phase turns the digital concept into a physical reality. We create a 3D structural design and then a physical prototype. This sample is tested for strength, fit, and ease of assembly to ensure it works perfectly before mass production begins.

I always tell my clients that the prototype is our safety net. It’s where we catch any potential problems before they become big, expensive mistakes. I remember a project with Peter where the prototype was a lifesaver. His products were heavier than usual, and the first prototype sagged a little under the weight. We quickly made adjustments to the internal support structure and sent him a new sample. The second one was perfect. He was so relieved we caught that early. This step gives you complete confidence that the final product will be exactly what you need.
From 2D to 3D
The journey from a flat drawing to a three-dimensional display starts with specialized software. Our designers use CAD programs to create a detailed digital model of the sidekick display. This isn't just about looks. We focus heavily on the structural integrity. We decide on the best type of corrugated cardboard, like B-flute for strength or E-flute for a finer print surface. The digital model shows us exactly how each piece will be cut, folded, and assembled. This precision ensures that every tab and slot lines up perfectly, making the final display both sturdy and easy to put together.
| Cardboard Grade | Key Feature | Best Use for Sidekicks |
|---|---|---|
| E-Flute | Thin, smooth surface | Lightweight products, high-quality printing. |
| B-Flute | Good cushioning and strength | General-purpose, can hold moderate weight. |
| C-Flute | Common, good all-arounder | Sturdier displays, heavier products. |
| BC-Flute | Double-wall, very strong | Heavy or bulky items needing extra support. |
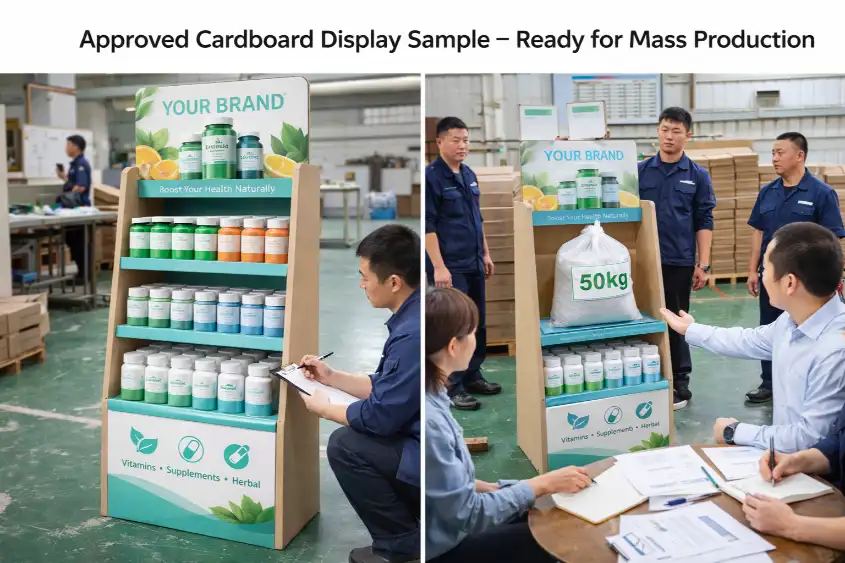
The Importance of a Physical Sample
A digital model is great, but nothing beats holding a physical sample in your hands. Once the 3D design is approved, we create a full-size prototype. We ship this sample to you so you can test it with your actual products. You can check if they fit correctly, see how the display holds the weight, and practice assembling it. This hands-on testing is invaluable. It lets us confirm that the display is stable, practical, and meets all your functional needs. Any necessary tweaks can be made to the design at this stage, ensuring the final production run is flawless and efficient.
How is the final sidekick display manufactured and delivered?
You've approved the perfect design and prototype, but now you need hundreds of them. This can seem like a huge task, with worries about quality control and shipping delays.
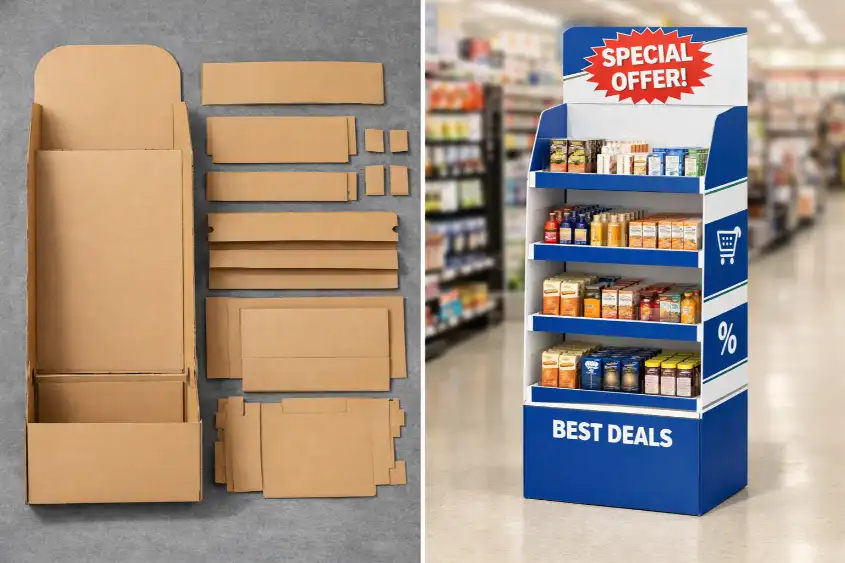
After you approve the prototype, we move to mass production. This involves printing the graphics, die-cutting the cardboard, and assembling the final units. After a final quality check, we flat-pack the displays for safe and cost-effective shipping directly to you.

This is where all our careful planning pays off. The transition from a single prototype to a full production run is seamless because we've already solved all the design and structural challenges. I always feel a sense of pride seeing a large order come off the line, knowing each display is exactly as we planned. Peter was thrilled when he received his first big shipment. He told me the displays were easy to assemble at his distribution center, which saved him a lot of time and labor costs. Our goal is to make this final step as smooth and worry-free as possible for you.
Precision in Production
Mass production requires precision at every step. We start with high-quality printing to ensure your branding looks sharp and vibrant. We can use CMYK for full-color images or Pantone colors for precise brand matching. Next, the printed sheets go to our die-cutting machines. A custom-made tool, or die, cuts and scores the cardboard to the exact shape of your display. This ensures clean edges and perfect fold lines. Finally, our assembly team glues or fastens any necessary parts. We have strict quality control checks throughout this process to make sure every single display meets the high standard set by the approved prototype.
| Production Stage | Typical Duration | Description |
|---|---|---|
| Printing | 2-3 Days | Printing artwork onto large cardboard sheets. |
| Die-Cutting & Lamination | 2-3 Days | Cutting shapes and applying protective finishes. |
| Gluing & Assembly | 3-4 Days | Assembling the flat parts into display sections. |
| Quality Control & Packing | 1-2 Days | Final checks and packing for shipment. |
Smart Logistics
Getting your finished displays to their destination safely and affordably is our final task. We almost always ship the displays flat-packed. This method has huge benefits. It dramatically reduces the size of the shipping boxes, which lowers freight costs. It also protects the displays from getting damaged during transit. We provide clear, simple assembly instructions so you or your retail partners can put them together in minutes. For some clients, we also offer kitting services. This means we can pre-pack your products into the displays before shipping, creating a ready-to-go unit for the retail floor.
Conclusion
This collaborative process turns your vision into a reality. From our first talk to final delivery, we ensure your sidekick display is effective, strong, and perfectly represents your brand in stores.