Want to sell in Costco but fear their strict display rules? A rejected PDQ costs time and money, killing your launch. Master their guidelines for guaranteed success.
To master Costco PDQ displays, focus on their strict structural guidelines, use high-quality, durable materials like corrugated cardboard, and design for easy setup and shopping. Prioritizing stability, clear branding, and compliance with their packaging specifications ensures your product gets on the floor and sells.

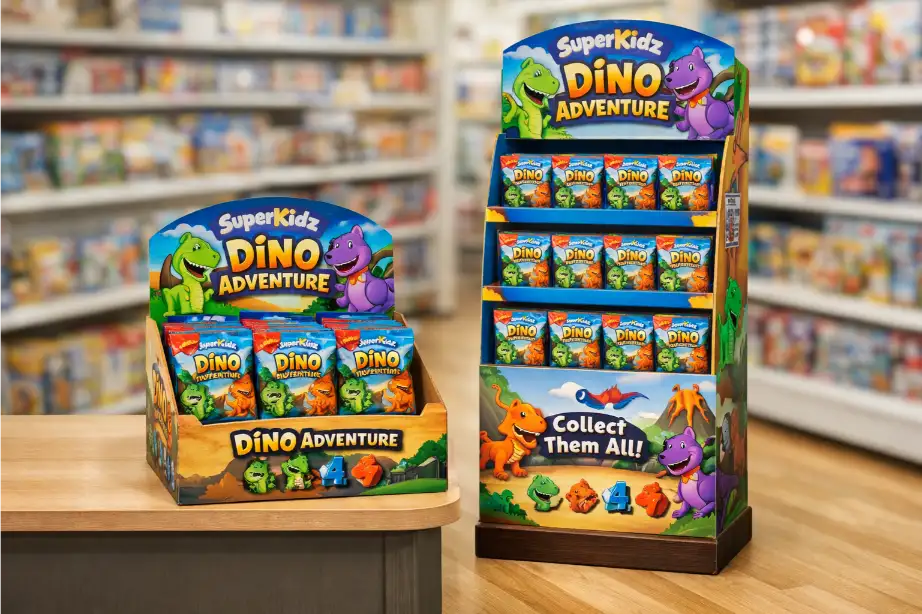
Getting your product onto the floor at Costco is a huge win. But I've seen many brands fail before they even start because they misunderstand the unique demands of a warehouse club environment. It’s not just about looking good; it's about being 'Costco-ready.' Over my 16 years in this business, I’ve learned that success with PDQ displays comes down to knowing their specific rules inside and out. It's a world where function and durability are just as important as aesthetics. Let's break down exactly what you need to know to create high-impact cardboard retail solutions that Costco will approve and customers will love.
What Exactly Are Costco's Structural and Design Rules?
Confused by Costco's long list of design rules? One small mistake in your PDQ's structure can lead to a costly rejection. Here is the essential checklist to follow.
Costco requires PDQs to be structurally sound, fit their 48"x40" pallet dimensions perfectly, and be easy for staff to set up without tools. Key rules include a stable base, clear product access for shoppers, and the ability to withstand a rigorous warehouse environment.

In my experience, Costco’s number one priority is operational efficiency. Your display cannot create extra work for their staff or pose a safety risk. I always tell my designers, like Peter, to think like a Costco employee. Can you move this with a forklift from all four sides? Can you set it up in under five minutes? Can a customer easily grab a product without the display tipping over? These are not suggestions; they are hard requirements. We once had a client with a beautiful design, but the base was slightly too narrow. It failed the stability test, and the entire project had to be reworked. It was a costly lesson in paying attention to the details.
The Foundation: Pallet and Stability
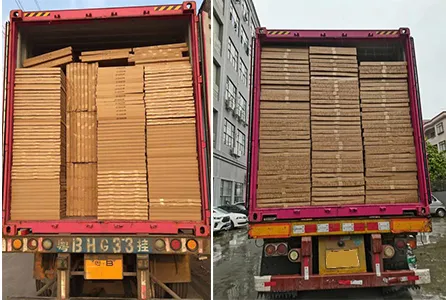
The entire display must be built on a 48” x 40” 4-way entry pallet. This is non-negotiable. The display must be centered and secured to the pallet so it arrives as one single unit, often called a "club pack." The structure itself needs to be incredibly robust. It must support the full weight of your product throughout its entire lifecycle in the store without sagging, bending, or breaking.
Key Structural Specifications Table
| Guideline | Requirement | Why It's Important |
|---|---|---|
| Pallet Spec | 48" x 40", 4-way entry | For easy handling by forklifts and pallet jacks in the warehouse. |
| Stability | Must pass a push/pull test | Prevents tipping in a busy aisle, ensuring shopper and employee safety. |
| Assembly | No tools required, quick setup | Maximizes operational efficiency for Costco staff during restocking. |
| Shoppability | Easy access to products | Encourages sales and prevents customer frustration or display damage. |
How Do You Choose the Right Materials for a Costco PDQ?
Worried about your PDQ collapsing in a busy aisle? Choosing the wrong material can lead to product damage or excessive costs. Let's find the perfect balance for a successful display.
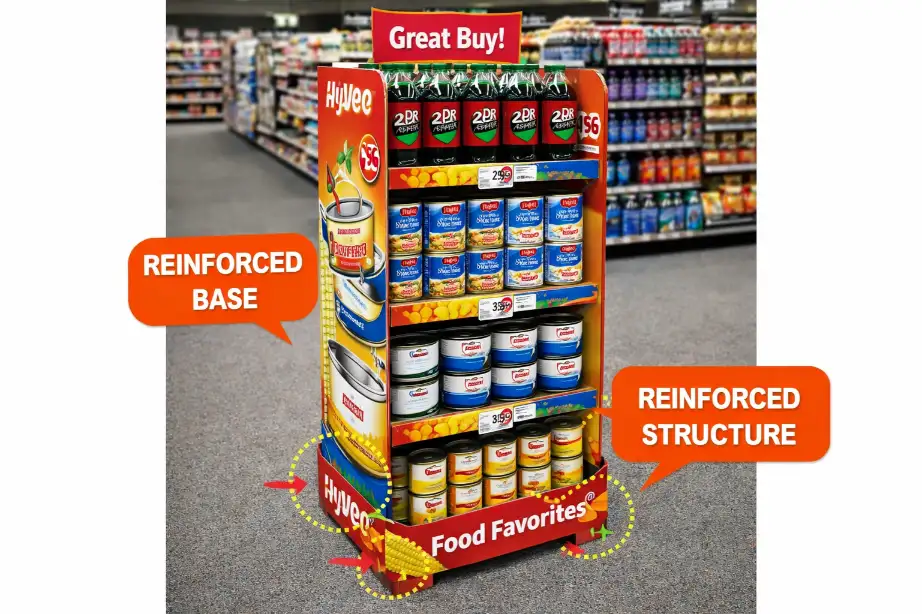
The best material for Costco PDQs is high-strength corrugated cardboard displays, typically B-Flute or C-Flute, often laminated for a premium print surface. You must select a board with a high ECT (Edge Crush Test) rating to guarantee durability and compliance with shipping standards.

Choosing the right material is a critical decision that a designer like Peter would spend a lot of time on. It’s a trade-off between strength, cost, and print quality. For Costco, strength is paramount. I've seen displays made from weaker board start to buckle under the weight of the products after just a few days on the floor. This not only looks unprofessional but is also a safety hazard. We always recommend starting with a strong base material and then deciding on the finish. A glossy laminate can make your graphics pop, but a simple varnish might be more cost-effective. We work closely with our clients to find that sweet spot, delivering customized solutions that are both durable and visually appealing.
Understanding Corrugated Board Strength
The strength of corrugated board is determined by its flute profile and its ECT rating.
- Flute Profile: This refers to the wavy layer of paper between the linerboards. B-flute is common for its good print surface and decent strength. C-flute is thicker and stronger, ideal for heavier products, but the print surface can be slightly more uneven. Sometimes, we even use a double-wall board (like BC-flute) for extremely heavy or fragile items.
- ECT (Edge Crush Test): This measures the compressive strength of the board. A higher ECT value means the board can withstand more pressure and stacking weight. For Costco, you should never go with a low ECT board. We typically recommend a minimum of 32 ECT, but often suggest 44 ECT or higher for heavy-duty applications.
Material Selection Comparison Table
| Material Type | Strength | Print Quality | Cost | Best For |
|---|---|---|---|---|
| B-Flute | Good | Excellent | $$ | Lighter products, high-graphics. |
| C-Flute | Excellent | Good | $$ | Heavier products, general purpose. |
| E-Flute | Fair | Superior | $$$ | High-end printing, small boxes. |
| BC Double Wall | Superior | Fair | $$$$ | Extremely heavy or fragile items. |
What Are the Key Steps from Design to Approval at Costco?
Unsure about the Costco approval process for your PDQ? A single misstep can send you back to the drawing board, causing major delays. Follow this proven roadmap for a smoother journey.
The process begins with a compliant design. Next, you create a full prototype for physical testing, including a ship test. Once the prototype is approved by the Costco buyer, you can proceed to full production. Clear communication with your manufacturer is crucial at every stage.

The path to getting a display approved by Costco is very structured. I've guided countless clients through it, and the most important factor is preparation. You can't just send them a digital render and hope for the best. They need to see, touch, and test a physical unit. This is where having an experienced manufacturing partner is invaluable. We help designers like Peter anticipate potential issues before they become problems. For example, we perform our own internal ship tests, simulating the journey from our factory to a Costco depot, to ensure the display and the products arrive in perfect condition. This proactive approach saves our clients time, money, and a lot of stress.
1. Initial Design and Consultation
This is where you translate your brand's vision into a design that meets all of Costco's structural and graphic guidelines. Work with your packaging designer to create a 3D render and a structural dieline.
2. Prototyping and Testing
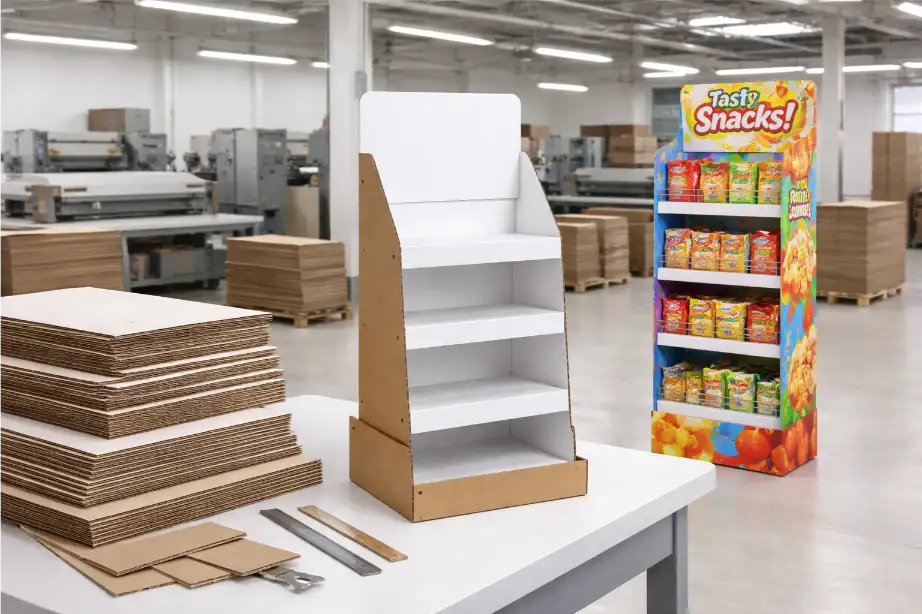
A full-scale, fully loaded prototype must be created. This isn't a rough model; it should be made from the exact materials you plan to use for the final run. This prototype will undergo:
- Assembly Test: Can it be set up easily without tools?
- Stability Test: Does it wobble or tip?
- Ship Test: It is shipped to a designated location to see if it (and the products inside) can survive the journey.
3. Buyer Review and Feedback
The prototype is sent to the Costco buyer for final approval. They will review it against their checklist. Be prepared for feedback. They might request minor changes to the graphics, structure, or product layout for better shoppability.
4. Final Production
Once you have written approval from the buyer, you can start the full production run. This is where you should contact us for production, as we can ensure that every single unit is manufactured to the exact specifications of the approved prototype.
Conclusion
Mastering Costco PDQs is about balancing strict rules with smart design. Focus on structure, materials, and process, and you will succeed in this highly competitive retail environment.