Are you unsure how cardboard displays are made? This can lead to quality issues and project delays. Understanding the manufacturing and quality control process is key to getting the perfect display.
The process involves several key stages: design, prototyping, printing, die-cutting, and assembly. Quality is ensured through careful material selection, rigorous structural testing, and strict checks on printing color and final construction to meet exact specifications.

Getting a great cardboard display isn't just about a good idea; it's about executing that idea perfectly. Over my 16 years in this industry, I've seen how a deep understanding of the manufacturing process can turn a simple concept into a powerful retail tool. It’s what separates a display that just holds products from one that truly sells them. Let's walk through how we bring these designs to life and ensure every single one meets the highest standards, so you can feel confident in your next project.
What are the key steps in the cardboard display manufacturing process?
Are you confused by the steps from a design file to a finished product? Misunderstanding the process can cause major delays. Let’s break down the essential manufacturing stages for clarity.
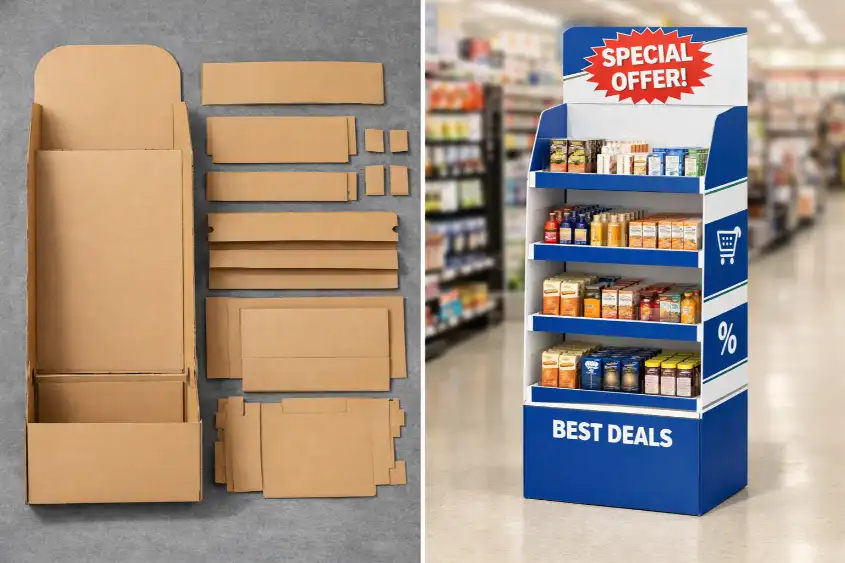
The main steps are structural and graphic design, prototyping for approval, plate making, high-quality printing, surface finishing like lamination, precise die-cutting, gluing, and finally, careful assembly. Each stage is critical for the final outcome.

Each step in making a cardboard display is built on the one before it. It’s a chain where every link must be strong. I learned this the hard way on a project years ago. We rushed the prototype approval to meet a tight deadline. Later, we discovered the product slots were a few millimeters too small. We had to remake the cutting die, which cost us both time and money. That a mistake taught me to respect every single step. The process begins with collaboration between your designer and our structural engineer to create a 3D model. Once approved, we move to production. This systematic approach ensures the final display is exactly what you envisioned.
The Production Workflow
We start with your vision and turn it into a physical reality. It begins with design and ends with a display ready for your products.
| Stage | Purpose | Key Consideration |
|---|---|---|
| 1. Design & Prototyping | Create the blueprint and a physical sample | Confirming product fit and structural stability |
| 2. Printing & Finishing | Apply graphics and protective coatings | Achieving accurate brand colors and durability |
| 3. Die-cutting & Gluing | Cut the shape and join the parts | Ensuring precision cuts for easy assembly |
| 4. Assembly & Packing | Construct the final display | Shipping flat or assembled to save costs |
How do manufacturers ensure the structural integrity of cardboard displays?
Do you worry your displays might collapse under the weight of your products? This fear can limit creative designs and even lead to product damage in stores. We fix this problem.
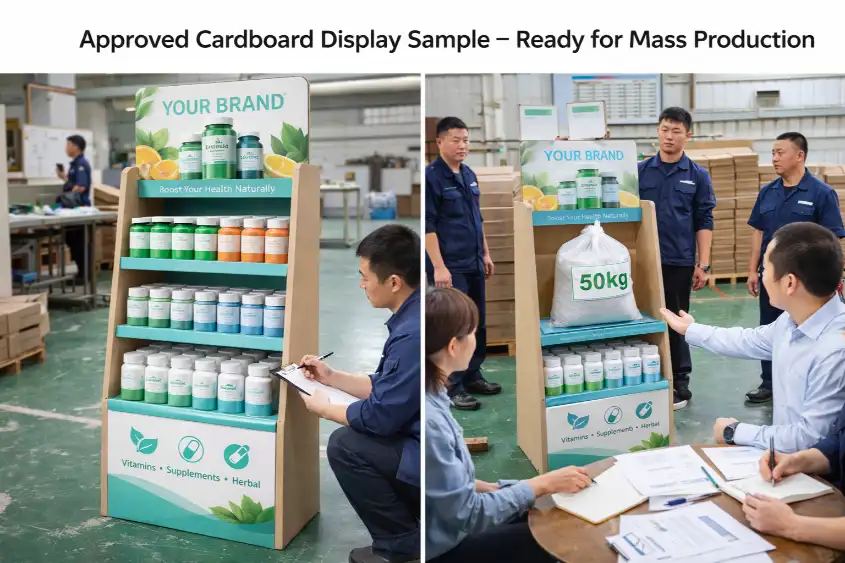
Structural integrity comes from three key areas: choosing the right corrugated cardboard grade (flute size and paper weight), creating an expert structural design with internal supports, and performing strict weight tests on prototypes.

The strength of a display is an invisible feature, but it's the most important one. It all starts with the material. We don't just pick any cardboard; we choose a specific flute type and paper combination based on the weight and size of your products. For example, a display for heavy beverage bottles needs a much stronger board, like a B-flute, than a display for lightweight cosmetic boxes, which might use a finer E-flute. Our structural designers use CAD software to engineer a skeleton for the display, often adding hidden internal supports and locking tabs that distribute weight evenly. We then build a real prototype and load it with the actual product weight, sometimes even more, to see how it holds up over time. This testing ensures your display looks great and stays standing.
Choosing the Right Material
The type of corrugated board used is the foundation of the display's strength. Different flute types offer different levels of rigidity and printability.
| Flute Type | Characteristics | Common Use Cases |
|---|---|---|
| E-Flute | Thin with a very smooth surface | Lightweight product displays, cosmetic boxes |
| B-Flute | Good balance of strength and print quality | Floor displays, dump bins, heavier products |
| BC-Flute | Double-wall for maximum strength | Pallet displays, heavy bulk items |
What quality control measures are essential for vibrant and accurate printing?
Do you fear your brand colors will look dull or wrong on the final display? Bad printing can hurt your brand image and make your products less appealing on the shelf.
Essential quality control includes pre-press digital proofs to match your brand's Pantone or CMYK colors, regular color calibration of our presses, and constant visual checks during the print run. This guarantees the final product matches the approved design perfectly.

Getting the color right is non-negotiable. Your brand's colors are a huge part of its identity, and we take that seriously. Before we print anything, our pre-press team checks your artwork and provides a digital or physical proof for your approval. This proof is our color target. During printing, we use tools like a spectrophotometer to measure color data and ensure it matches the target from the first sheet to the last. This is especially important for large runs. I remember a client whose specific shade of blue was core to their branding. We spent extra time creating a custom ink formula and calibrated the press specifically for their job. The client was thrilled because the displays looked identical across thousands of stores. That’s the level of detail that quality control requires.
The Color Accuracy Checklist
We follow a strict process to ensure every print job is perfect.
- Pre-flight Check: We review your artwork files for any potential issues with resolution, color mode (CMYK), and bleed.
- Proofing: We provide a color-accurate proof for your final sign-off before any plates are made or printing begins.
- Press Calibration: Our printing machines are calibrated daily to ensure they produce consistent, reliable colors.
- On-Line Inspection: During the print run, our operators pull sheets regularly to compare them against the approved proof, checking for any color shifts or defects.
Conclusion
From design to delivery, manufacturing cardboard displays involves precise steps. Quality is guaranteed through material science, structural engineering, and strict printing controls to ensure a perfect final product every time.