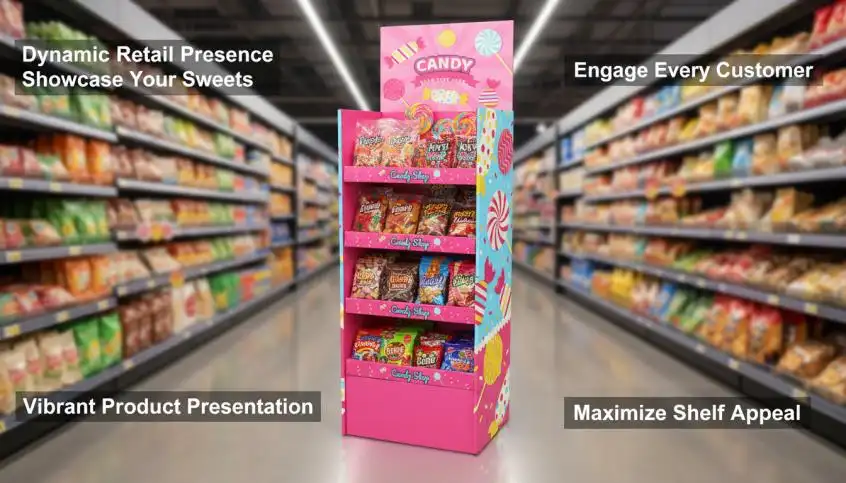
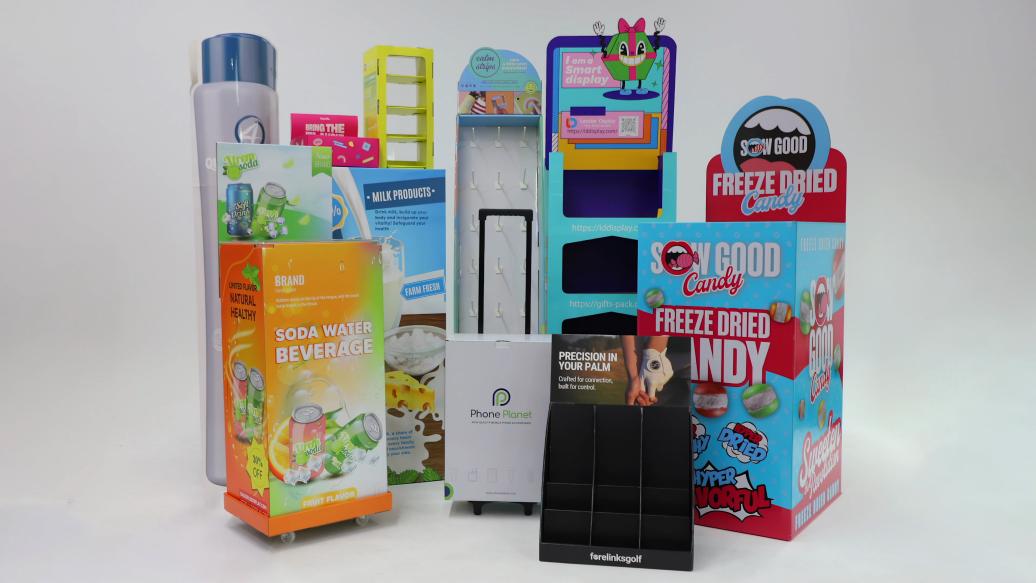
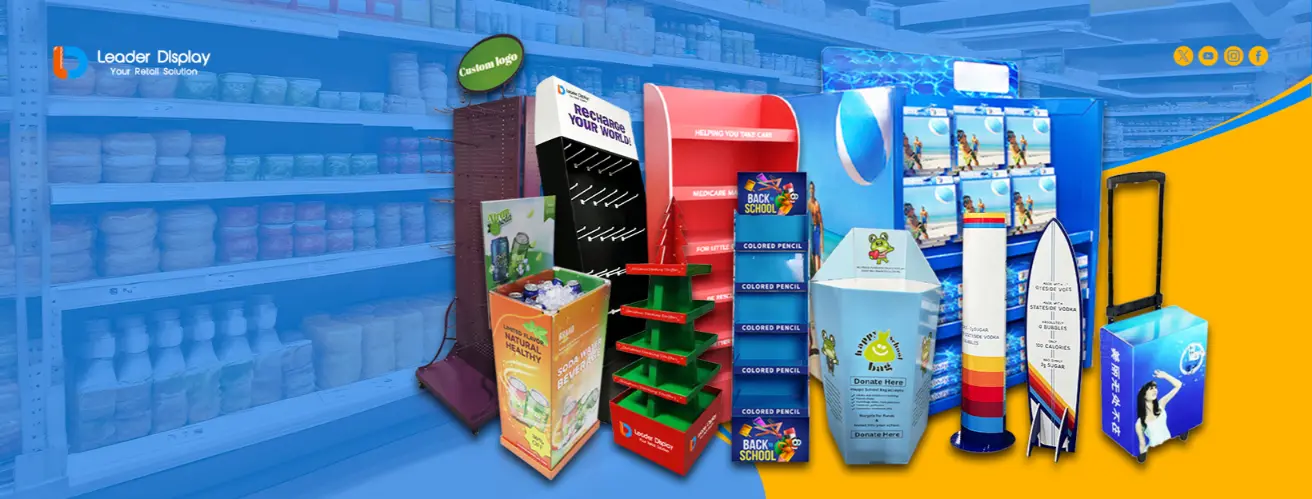
Your products blend in on crowded shelves. This costs you sales and weakens your brand. Custom cardboard displays make you stand out and grab attention right at the point of sale.
Creating custom cardboard retail displays involves a clear process. Start with a design concept, then engineer the structure for stability. Next, complete the graphic design, produce a prototype for testing, and finally, begin mass production. This ensures an effective and sturdy display that sells.
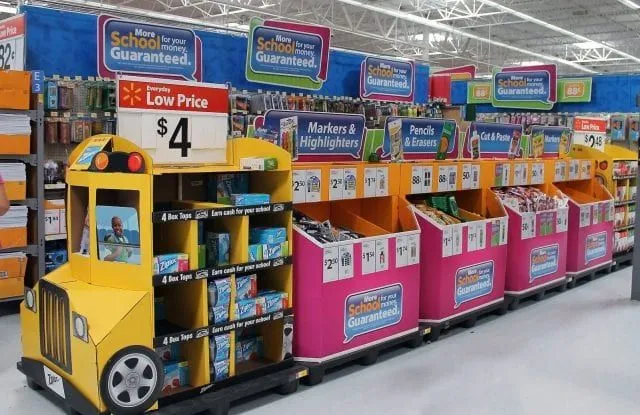
You now have a solid overview of the process. But you might be wondering about the specific terms and types of displays. Let's break it down further so you can talk like a pro and choose the best options. This information is key to making your next project a success, so keep reading.
What Are Cardboard Displays Called?
You need a specific type of display but don't know the industry term. This makes searching for suppliers difficult. Knowing the right name helps you find exactly what you need, fast.
Cardboard displays are most commonly called Point of Purchase (POP) displays or Point of Sale (POS) displays. Other names include temporary displays, corrugated displays, and FSDUs (Free Standing Display Units), depending on their form and function in the retail environment.

In my 16 years in this business, I've heard dozens of terms. The most important thing to understand is the difference between "Point of Purchase" (POP) and "Point of Sale" (POS). They are often used interchangeably, but there's a slight difference. POP displays are placed where customers make their buying decision, like in an aisle. POS displays are typically found at the checkout counter. Getting this right helps in conversations.
Breaking Down the Terminology
To make it clearer, think about the display's job. Is it standing alone? Is it on a counter? This helps determine its name. For instance, a Free Standing Display Unit (FSDU) is a common term in the UK for a standalone floor display. In the US, we might just call it a floor display. I remember early in my career, a client asked for a "gondola end cap display," and I had to quickly learn that it meant a display specifically designed for the end of a retail aisle.
Common Display Types and Names
Here is a simple table to help you match the name to the display type. Using the correct term will make conversations with designers and manufacturers like me much smoother.
| Display Name | Common Use Case | Key Feature |
|---|---|---|
| FSDU / Floor Display | Promoting new products in aisles | Stands alone on the retail floor |
| Counter Display Unit (CDU) | Small items at checkout | Sits on a counter or shelf |
| Dump Bin | Discounted or bulk items | Large, open bin for easy access |
| Pallet Display | High-volume, fast-moving goods | Sits on a standard shipping pallet |
What Are Retail Displays Called?
You hear "retail display" but it seems too broad. This uncertainty makes it hard to specify your needs. Understanding the categories helps you choose the right solution for your product launch.
Retail displays are broadly categorized by their material and lifespan. They can be called temporary displays (like cardboard), semi-permanent displays (using plastic or wood), or permanent fixtures. The term covers everything from simple shelf talkers to entire store-in-store installations designed to showcase a brand.
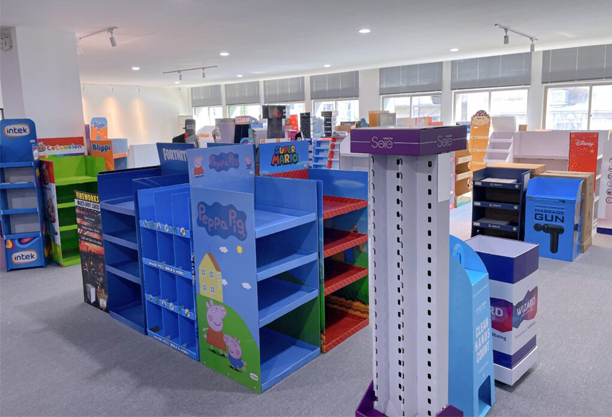
When we talk about "retail displays," we're using a very broad term. It really covers any structure used in a store to show off products. In my experience, the best way to understand them is by thinking about how long they need to last. This is the first question I ask a new client. The answer determines everything that follows, from the materials we use to the overall budget.
Categorizing by Lifespan and Material
The display's intended lifespan is the most important factor in its design and what it's called. This directly influences the materials we choose.
- Temporary Displays: These are what I work with most. They are usually made of cardboard and designed to last for a few weeks or a few months. They are perfect for seasonal campaigns, new product launches, or special promotions. Their low cost and recyclability are huge advantages for fast-moving marketing plans.
- Semi-Permanent Displays: These are built to last longer, maybe six months to a year. They often use a mix of materials like durable corrugated cardboard, plastics like acrylic, and sometimes metal components for support.
- Permanent Fixtures: These are part of the store's long-term layout, designed to last for years. Think of metal shelving units or branded cosmetic counters made from wood, metal, and glass. They are a significant investment in brand presence.
Choosing the right type depends entirely on your marketing goals and budget.
How Do You Create a Retail Display?
You have a great idea for a display but no clear process. This leads to costly mistakes and delays. Following a structured creative process ensures your vision becomes a successful reality.
To create a retail display, start with a clear brief outlining your goals, budget, and product specs. Move to concept design and structural engineering. Then, develop graphics, create a physical prototype for testing, and once approved, proceed with manufacturing, packing, and shipping.

Creating a successful retail display from scratch is a journey. I've seen it go perfectly, and I've seen it go wrong. Success always boils down to following a proven process. As a designer or brand manager, understanding these steps is vital for managing your project effectively and avoiding common pitfalls that can derail a launch.
Step 1: The Brief and Concept
Everything starts with a good brief. This document should include what product the display will hold, its weight and dimensions, how many units per display, your budget, and any retailer-specific guidelines. From there, the design team, like Peter from our user profile, brainstorms initial concepts that are creative and meet the marketing goals. This is the foundation of the entire project.
Step 2: Structural Engineering and Graphic Design
Once a concept is chosen, two things happen at once. A structural engineer like me designs the display's blueprint using CAD software. We ensure it's strong enough to hold the product and survive in the busy retail environment. At the same time, a graphic designer creates the artwork that will be printed on the display, making it eye-catching and on-brand.
Step 3: Prototyping and Production
This is the most critical step. We create a full-size, printed prototype. This allows us to test its strength, assembly process, and visual impact. I always tell my clients: never skip the prototype. One time, a client skipped this step to save time. The final displays couldn't hold the product weight. We had to remake everything. After approval, we move to full production, printing, die-cutting, and finishing the displays for shipment.
What Are Cardboard Display Boxes?
Your product needs packaging that also works as a display. You are unsure what to call this hybrid solution. This confusion can prevent you from finding the perfect, efficient option for retailers.
Cardboard display boxes are dual-purpose packaging. They act as a shipping box to protect products in transit and then easily convert into a retail display on the shelf or counter. They are often called Shelf-Ready Packaging (SRP) or Retail-Ready Packaging (RRP).
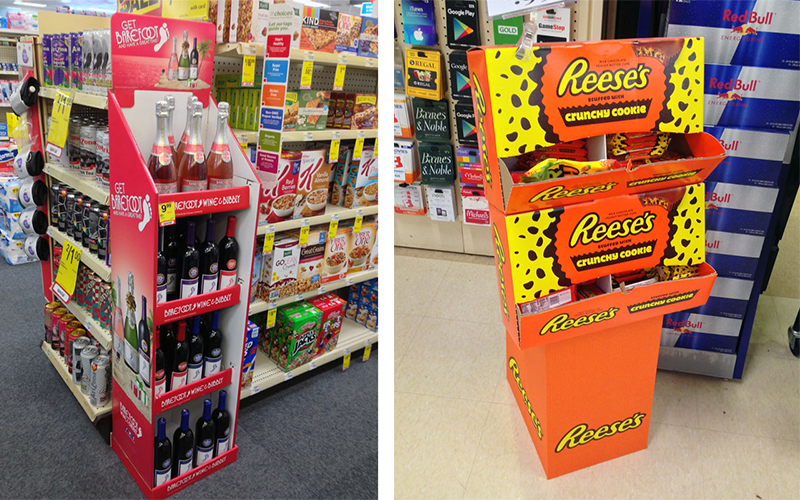
Cardboard display boxes are one of the smartest innovations in our industry. I've helped countless clients switch to this model. They solve a huge problem for both brands and retailers by combining the shipping container and the display into one clever package. It simplifies the entire supply chain, from the factory to the store shelf.
The Dual-Purpose Design: SRP and RRP
These boxes are most often called Shelf-Ready Packaging (SRP) or Retail-Ready Packaging (RRP). They are engineered to protect products during shipping. But they also have features like perforated tear-away sections. Once in the store, an employee can quickly tear off the front or top panel, and the box instantly becomes a neat, branded display on the shelf. This removes the need to unpack individual items, which takes a lot of time.
Why Retailers and Brands Benefit
Retailers absolutely love SRP. It drastically reduces shelf-stocking time, which cuts their labor costs. It also ensures products are displayed neatly and correctly every time. For brands, it's a huge win because it gives you control over how your product looks on the shelf. Your branding on the box is always visible, creating a mini-billboard right where customers are making decisions. Retailers increasingly demand SRP, so adopting it can improve your relationship with them. It’s a simple solution that makes everyone’s job easier.
Conclusion
In summary, understanding the key terms and following a structured design process are essential. This knowledge empowers you to create custom displays that truly capture attention and boost your sales.


