Struggling to make your product pop in-store? A generic display stand can mean missed sales. The right printing and customization options are key to grabbing customer attention.
For cardboard floor displays, you can choose from offset, flexo, or digital printing for vibrant graphics. Customization includes unique shapes and sizes, special finishes like lamination or UV coating, and structural additions such as shelves, hooks, or even LCD screens to create a truly bespoke presentation.
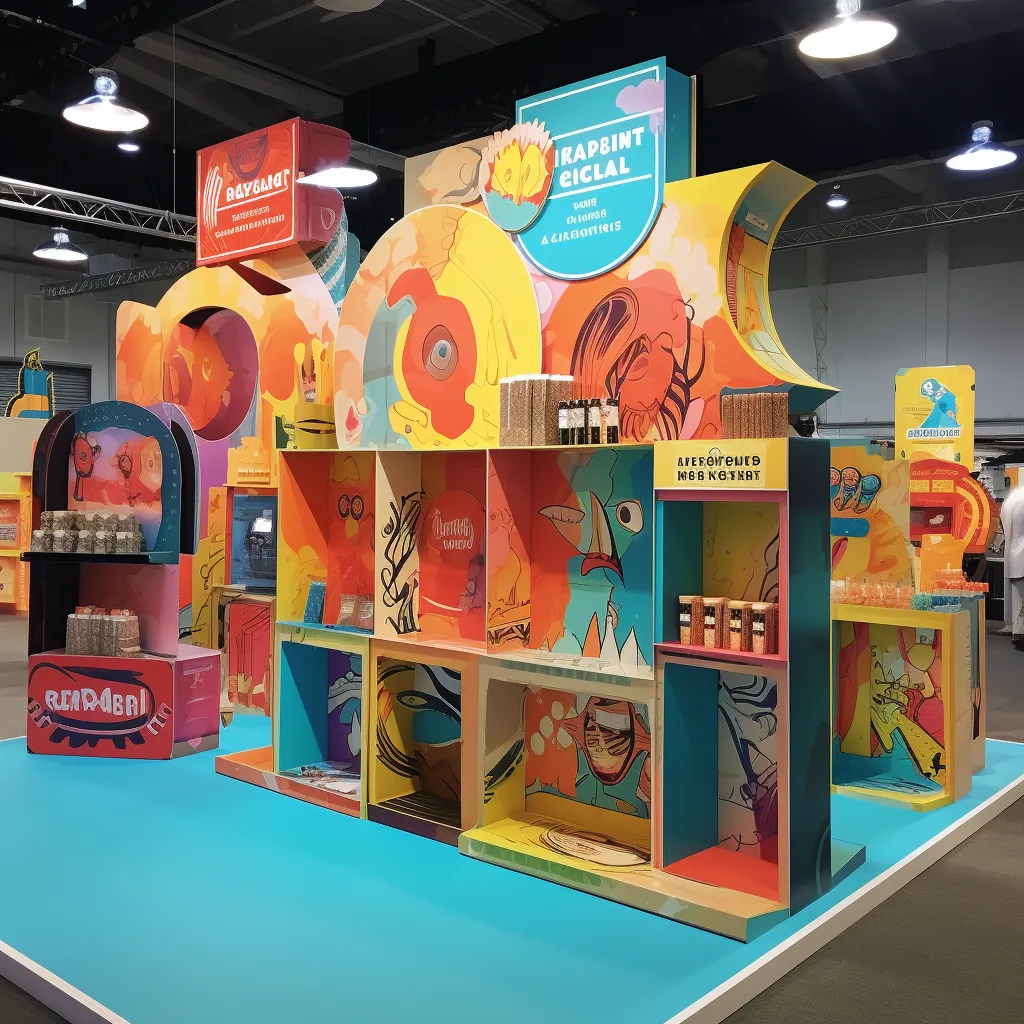
The world of display customization is vast, and knowing where to start can feel overwhelming. I've spent 16 years navigating these options, helping clients find the perfect fit. To make it easier, let's break down some of the most common questions I get from designers. Answering these will give you a solid foundation for your next project.
How to make a display stand from cardboard?
Thinking about a custom cardboard display but the process seems complicated? This doubt can halt a great project. Let me show you how simple it can be with the right steps.
Making a cardboard display involves several key stages. It starts with your concept, then moves to structural design for strength, and graphic design1 for visuals. Next comes printing, cutting, and any finishing touches. Finally, the display is either shipped flat or pre-assembled for use.

I believe the creation process should be a partnership. It all starts with a clear idea and a good conversation. I remember a product designer, much like yourself, came to me with a brilliant plan for a display shaped like a large tree. His main worry was whether it would be strong enough to hold his products.
Step 1: Concept and Design
We began with his concept and focused on the structural engineering2 first. We decided to use a thick, reinforced corrugated board for the trunk and a lighter grade for the little branches. This early collaboration is so important. We use special software to build a 3D model3, which lets us see potential problems before we ever cut a single piece of cardboard. Once the structure is approved, the graphic design1 team takes over to apply the artwork.
Step 2: Prototyping and Production
After the digital design is complete, we always make a physical prototype4. For me, this step is not optional. It’s our chance to test the display's stability with the actual products on it. It also lets us see the colors and graphics in the real world, not just on a screen. Once everyone is happy with the prototype, we move to the full production run.
| Feature | DIY Approach | Professional Manufacturing |
|---|---|---|
| Design | Basic, limited by available tools | CAD software, 3D model3ing, expert structural engineers |
| Material | Standard craft cardboard | High-grade corrugated board (B-flute, E-flute, etc.) |
| Printing | Limited to home printers or paint | Offset, Flexo, or Digital printing for high quality |
| Durability | Low, not suitable for retail settings | High, engineered to hold specific product weight |
| Cost (Bulk) | Very High | Low due to economy of scale |
What are cardboard displays called?
Ever struggle to describe the exact display you need? Using the wrong terms leads to confusion and wasted time. Knowing the industry language makes the whole process smoother.
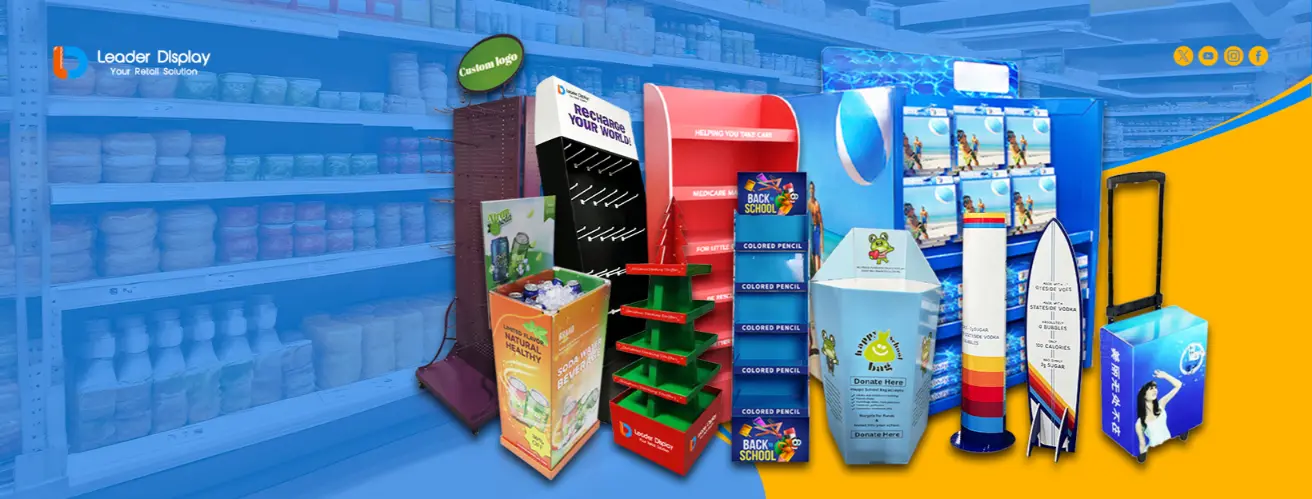
Cardboard displays are often called 'Point of Purchase' (POP) or 'Point of Sale' (POS) displays. Specific types include floor displays5, counter display units (CDUs)6, pallet displays7, and dump bins8. The material itself is typically corrugated cardboard, not simple paperboard, for strength.

In my early days, a client kept asking for a 'cardboard seller.' It took us a few calls to figure out they meant a free-standing floor display unit. This experience taught me how vital a shared vocabulary is. It removes guesswork and helps us get straight to the perfect solution. The most common term you will hear is a 'POP Display' because its main job is to influence a purchase right where it happens. But we get more specific with names to define the display's location and function in the store. For a designer, knowing these terms is a big advantage when you talk to a manufacturer. It shows you understand the business and helps us bring your vision to life much faster.
Here is a simple breakdown of the most common terms you will encounter.
| Term | Also Known As | Description | Common Location |
|---|---|---|---|
| Floor Display | FSDU (Free Standing Display Unit) | A standalone display placed on the retail floor. | Aisles, endcaps, open spaces |
| Counter Display | CDU (Counter Display Unit) | A small display designed to sit on a checkout counter. | Checkout lanes, service desks |
| Pallet Display | Skirted Pallet, Full Pallet | A large display shipped on a pallet, often with products pre-loaded. | Main aisles, promotional areas |
| Dump Bin | Bin Display | A large open-top bin for loose or small, irregular items. | Aisle ends, high-traffic zones |
| PDQ Display | Shelf-ready Display, SRP | A display that works as both a shipping box and a retail display. | On the shelf |
What is cardboard printing called?
Your display graphics look great on screen, but will they look good on cardboard? The wrong printing method can ruin a great design. Let's cover the key options.
Printing on cardboard is generally done using three main methods: offset lithography9 (litho), flexography10 (flexo), and digital printing11. Each has its own benefits regarding color quality, cost per unit, and suitability for different order sizes. Choosing the right one is crucial for your project's success.
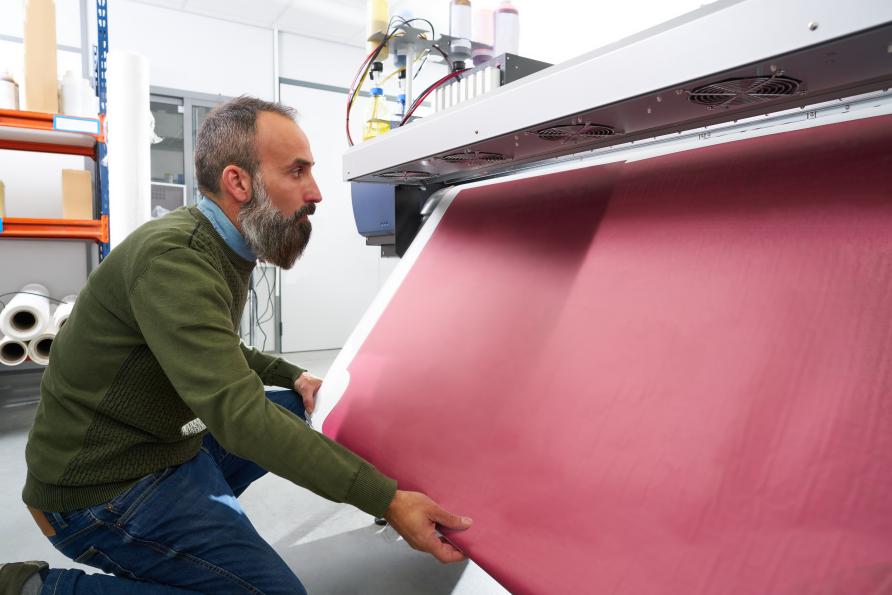
I always advise designers to think about the printing method early in the design process. It can make a huge difference in the final look and budget.
Offset Lithography (Litho)
For a high-end cosmetics launch, we used offset printing. The client needed photo-realistic images on their displays, and offset was the only way to achieve that premium quality. This process involves printing the graphics onto a separate sheet of paper, which is then glued, or laminated, onto the corrugated board. It's the best choice for complex, beautiful artwork.
Flexography (Flexo)
On the other hand, for a large run of simple shipping boxes that only needed a one-color logo, flexo is the perfect solution. It works like a rubber stamp, applying ink directly to the cardboard. It is very fast and cost-effective for large quantities with simple graphics.
Digital Printing
Recently, digital printing11 has become a game-changer. It's ideal for smaller orders, prototypes, or when you need different graphics on each display. It's like a giant inkjet printer that prints directly onto the board. We've used it for seasonal promotions where a client wanted a unique QR code on each display. It's all about matching the technology to your specific goal.
| Printing Method | Best For | Quality | Cost (Large Volume) | Cost (Small Volume) |
|---|---|---|---|---|
| Offset (Litho) | Photo-realistic graphics, premium look | Highest | Low | Very High |
| Flexography | Simple graphics, logos, solid colors | Good | Lowest | High |
| Digital | Small runs, prototypes, variable data | Very Good | High | Low |
What is a PDQ display12?
Retailers want products on shelves instantly. Standard shipping boxes just slow them down. Using non-compliant packaging can hurt your retail relationships13. PDQ display12s solve this exact problem.
A PDQ display12 stands for 'Pretty Darn Quick' or 'Product Display Quickly.' It is a type of shelf-ready packaging (SRP)14. This means the shipping box itself is designed to convert into a retail display in seconds, often just by tearing off a perforated panel.
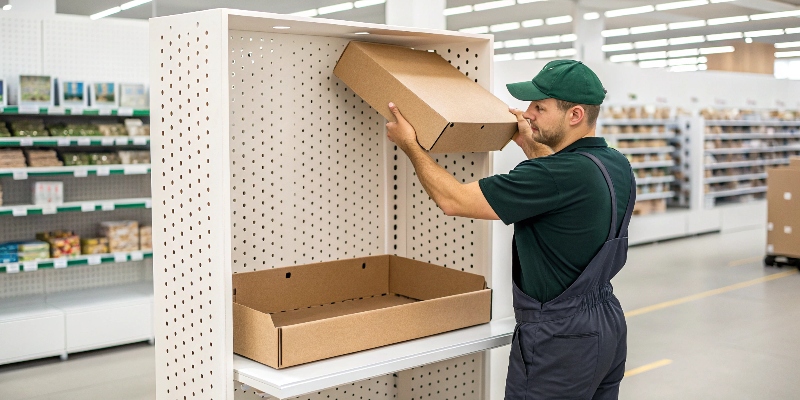
The growth of PDQ display12s is one of the biggest changes I've seen in my 16 years in this industry. It's a design that benefits both the brand and the retailer.
I once worked with a snack food company that was struggling to get good shelf space in a major supermarket chain. Their products arrived in plain brown boxes, and store employees had to unpack each bag and place it on the shelf. This took time and looked messy.
We redesigned their packaging into a PDQ display12. The new box arrived fully loaded with product. The store employee just had to tear away the perforated front panel and place the entire tray on the shelf. Everything was perfectly arranged and branded.
Benefits for Everyone
The retailer loved it because it saved them a huge amount of labor time. My client loved it because their sales in that store increased by over 20%. Creating a good PDQ display12 requires smart structural design. It needs to be tough enough to survive shipping but simple enough for any store employee to open easily without needing a box cutter. It is the definition of working smarter, not harder.
Conclusion
From printing methods to display types like the PDQ, your options are extensive. Understanding these basics helps you create cardboard displays that protect your product and powerfully boost your sales.
-
Understand how effective graphic design can enhance the visual appeal of your displays. ↩ ↩
-
Discover the role of structural engineering in creating durable and effective displays. ↩
-
Understand the importance of 3D modeling in identifying potential design issues before production. ↩ ↩
-
Learn why prototyping is crucial for testing stability and visual appeal before full production. ↩
-
Learn how floor displays can maximize visibility and attract customer attention. ↩
-
Find out how CDUs can effectively showcase products at checkout counters. ↩
-
Understand the functionality of pallet displays in retail environments. ↩
-
Explore how dump bins can effectively display products and increase impulse purchases. ↩
-
Discover the benefits of offset lithography for high-quality printing needs. ↩
-
Understand how flexography can be a cost-effective solution for large print runs. ↩
-
Explore how digital printing can offer flexibility and customization for your display projects. ↩ ↩
-
Learn about the efficiency of PDQ displays in retail and how they streamline product placement. ↩ ↩ ↩ ↩ ↩ ↩
-
Explore the connection between packaging design and maintaining strong retail partnerships. ↩
-
Learn how SRP can enhance product visibility and simplify retail operations. ↩



One Response